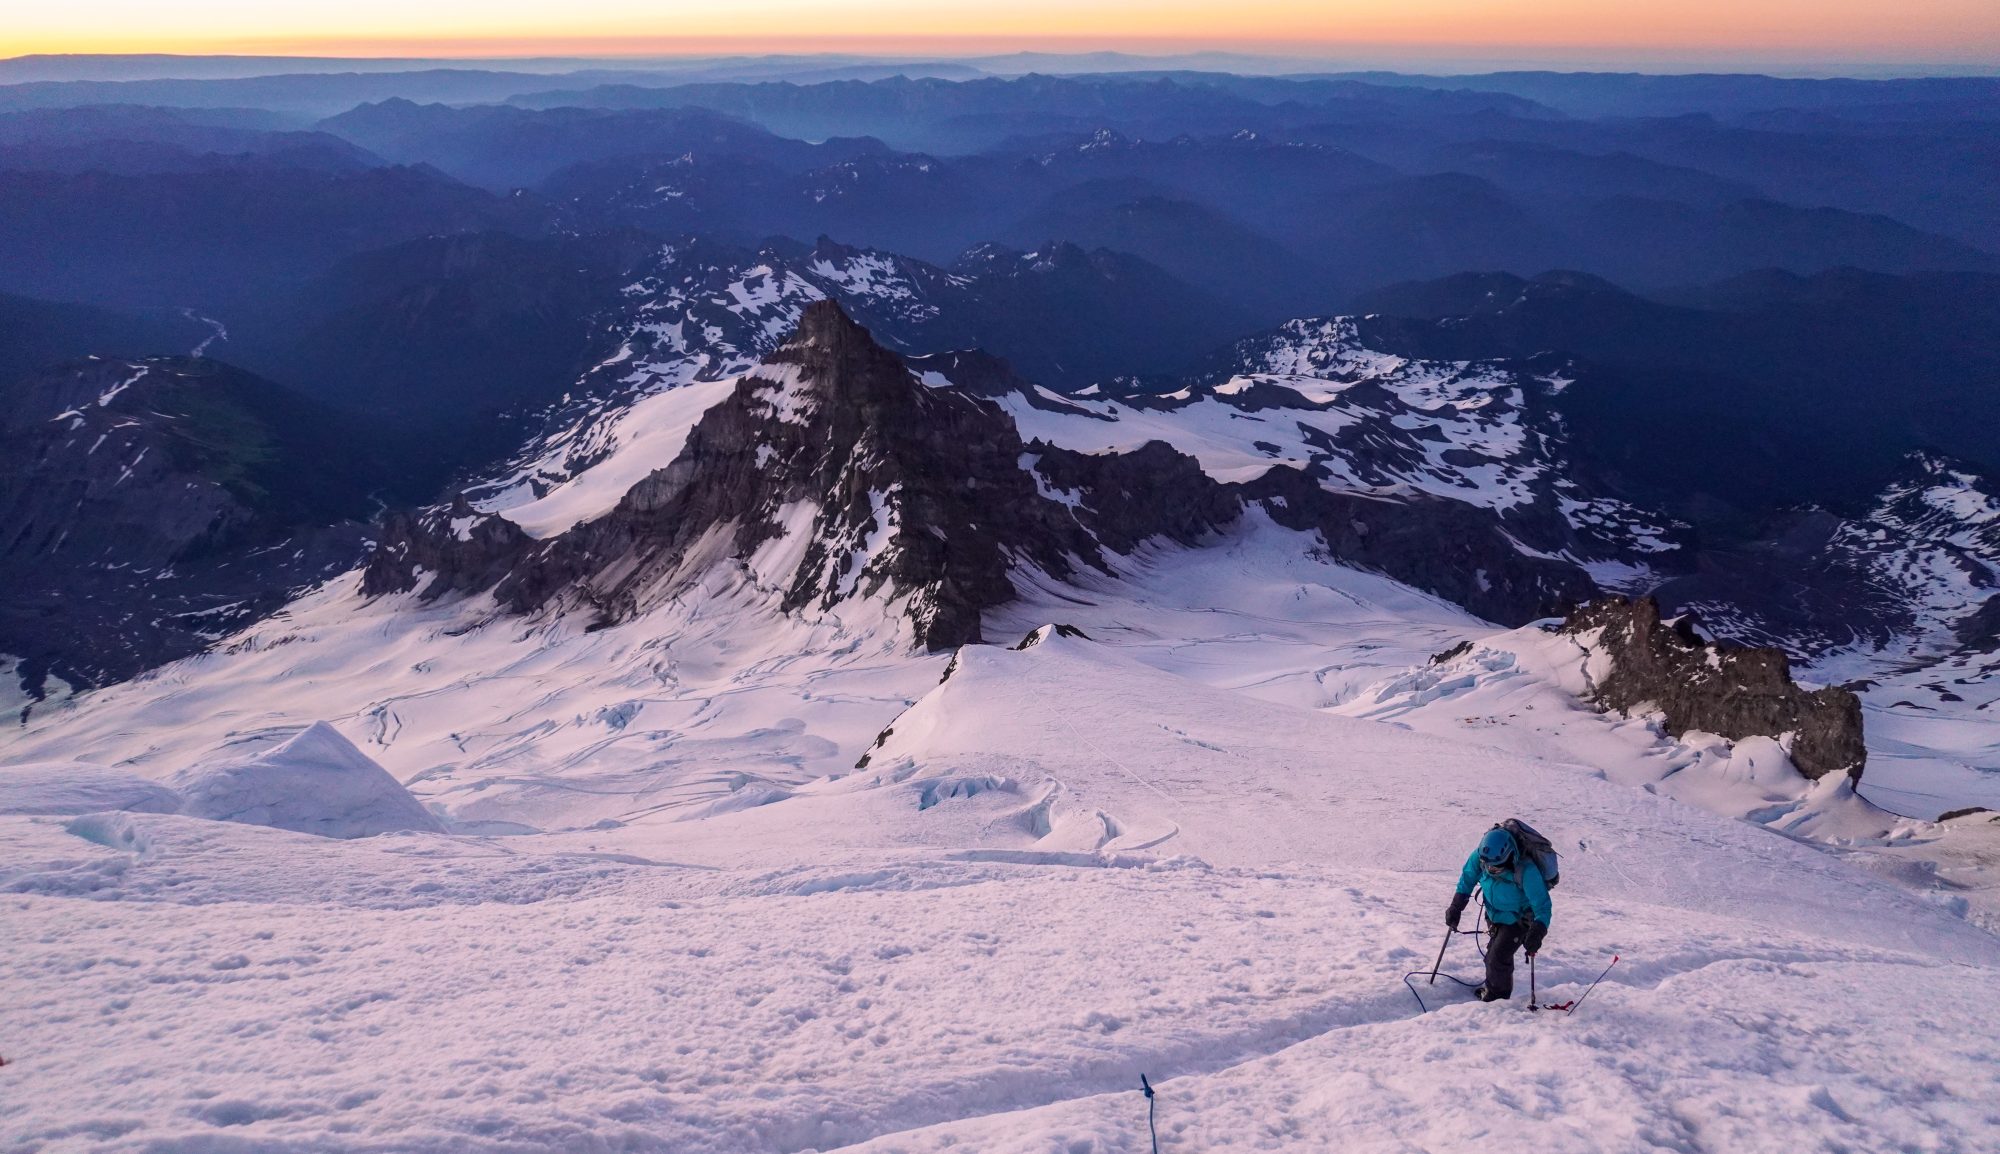
TRIP REPORT: Everest Base Camp (17,600′)/ Kala Patthar (18,519′)

Report from 6/20/18

Here it is!

I planned to get this out sooner, but I got home to find out I had caught a head cold  from the guy sitting next to me on one of my connections home and have also been struggling with the jet lag pretty bad. I have been pretty miserable the last few days. But without further ado, here is my trip report of my Everest Base Camp Trek!

First, I shall answer a question which may have arisen for those who frequent my blog and may have noticed a “typo” in the title. Yes, I was supposed to climb Island Peak as well. Originally, this trip had 2 parts: trek to EBC, and climb Island Peak (Imja Tse) at 6189m (20,305′). Long story short, Island Peak did not happen, but that will be explained.

Most of what is written below is actually fragments from my travel journal. This is strictly just the trekking portion of our trip. I am not going to spend time on talking about my day in Singapore, or when I first arrived in Kathmandu because I have already discussed them but if you missed it, you can click the links to read about them! So to begin, we are going to start with our first day in the Himalayas:

DAY 1: LUKLA TO PHAKDING- 2,860m (9,380′) to 2,610m (8,560′)- 5/30/18
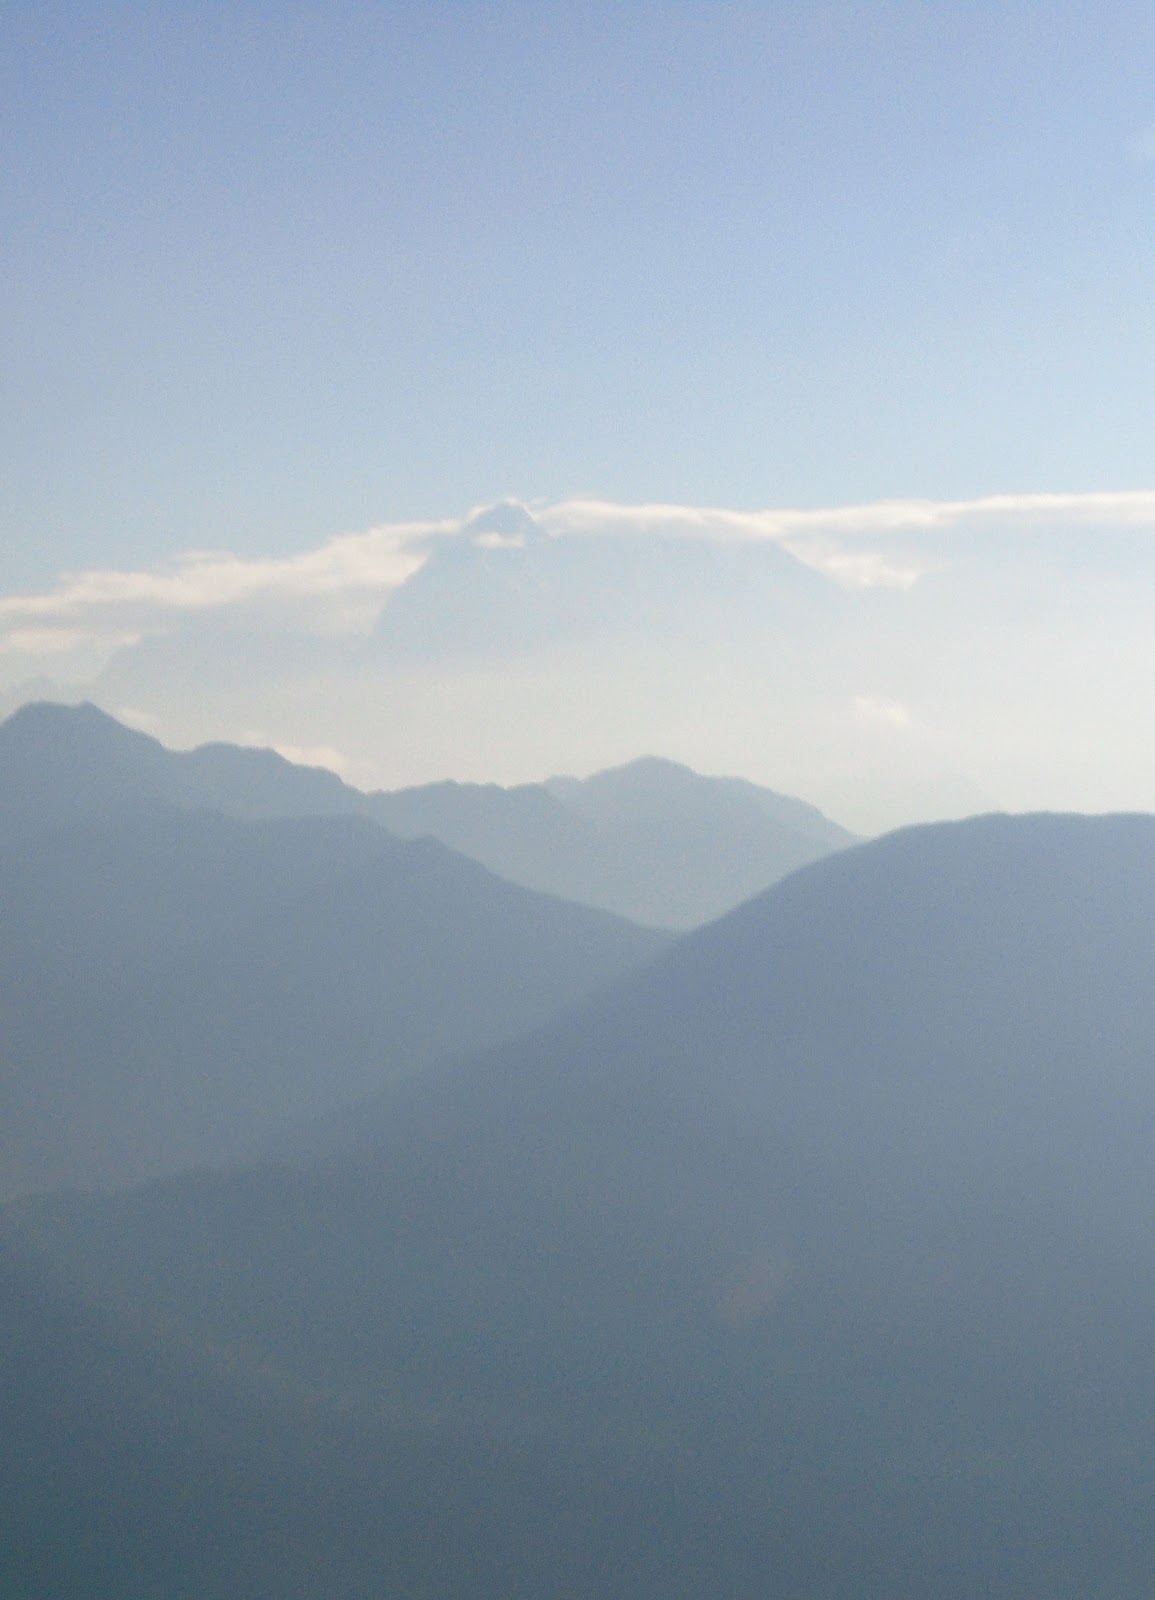
The morning started out in Kathmandu, misty and cool from rain the night before. Monsoon season is near, as we are at the tail end of may, and reports of many Everest climbers and crew had been stuck in Lukla for almost a week due to flights not being able to access the mountain. We head to the airport, hoping and praying skies are finally clear enough for us to get there. We are scheduled on the first flight out at 6am. We arrive, weigh our bags, and wait in the domestic terminal at Tribhuvan Airport for news, any news. Before we know it, we are on a little shuttle to take us to our small propeller plane, we board and we are off! On the plane, I had a giant smile on my face I could not erase, and tears coming to my eyes. Hazy skies make it difficult to see the tall mountains in the distance, but soon, we can see a hazy peak out the window of the plane, standing well above all others off in the distance. It’s Everest!

Landing in Lukla, at the world’s most dangerous airport, was not as terrifying as I anticipated. We had a very smooth landing, and was off the plane an instant later. Immediately we could already see Nupla, standing at 5,885m (19,303′), dominating the background. I nearly cried. I could not believe I was finally here! By a fun coincidence, my tent-mate from Rainier happened to be in Lukla at the same time! After catching up with her, we headed off. We have a small group. Gadul is our local guide and I am accompanied by one other, Juan from Bolivia, who is currently living in Thailand. The road to Phakding was downhill, and quick. We passed dozens of rocks, prayer wheels, stupas, and memorials covered in Sanskrit writings from the Monks of the monasteries. I learned that all of these sacred monuments must be passed on the left, or in a clockwise direction out of respect. These are the most peaceful mountains I have ever been to. Bells and chimes from prayer wheels ring, and chants in the distance can be heard from the Monks up the hill. The spirit of this land is something I have wanted to experience for years. I was in disbelief of the awe and wonder around me. Within a short 2 1/2  hours, we arrived in Phakding, got settled into our first teahouse lodge and enjoyed some downtime.

DAY 2: PHAKDING TO NAMCHE BAZZAR- 2,610m (8,560′) to  3,440m (11,283′)- 5/31/18

Day 2 was long, steep, and hot. The trail was very up and down, and there were stairs, so many stairs!!! I started the morning off feeling pretty good! As we started walking I could hear birds that sounded just like the Mockingjay from the Hunger Games. We passed plenty of porters bringing down stuff from base camp now that the season is over and I began to realize something; many of these young boys looks just like my high schoolers! When people think “Sherpa” there is a stereotype that comes to mind. A short man, wearing flip flops, smoking cigarettes, while hiking with up to 100 kilos on his back with a head strap used for balance. While this is seen sometimes, the reality is most porters are young teenagers. Some are wearing skinny jeans, Adidas, a flat rimmed baseball cap, and playing music on their phone while they walk. I asked Gadul how young some of the porters typically start and he said some can be as young as 14, working weekends while they’re not in school.
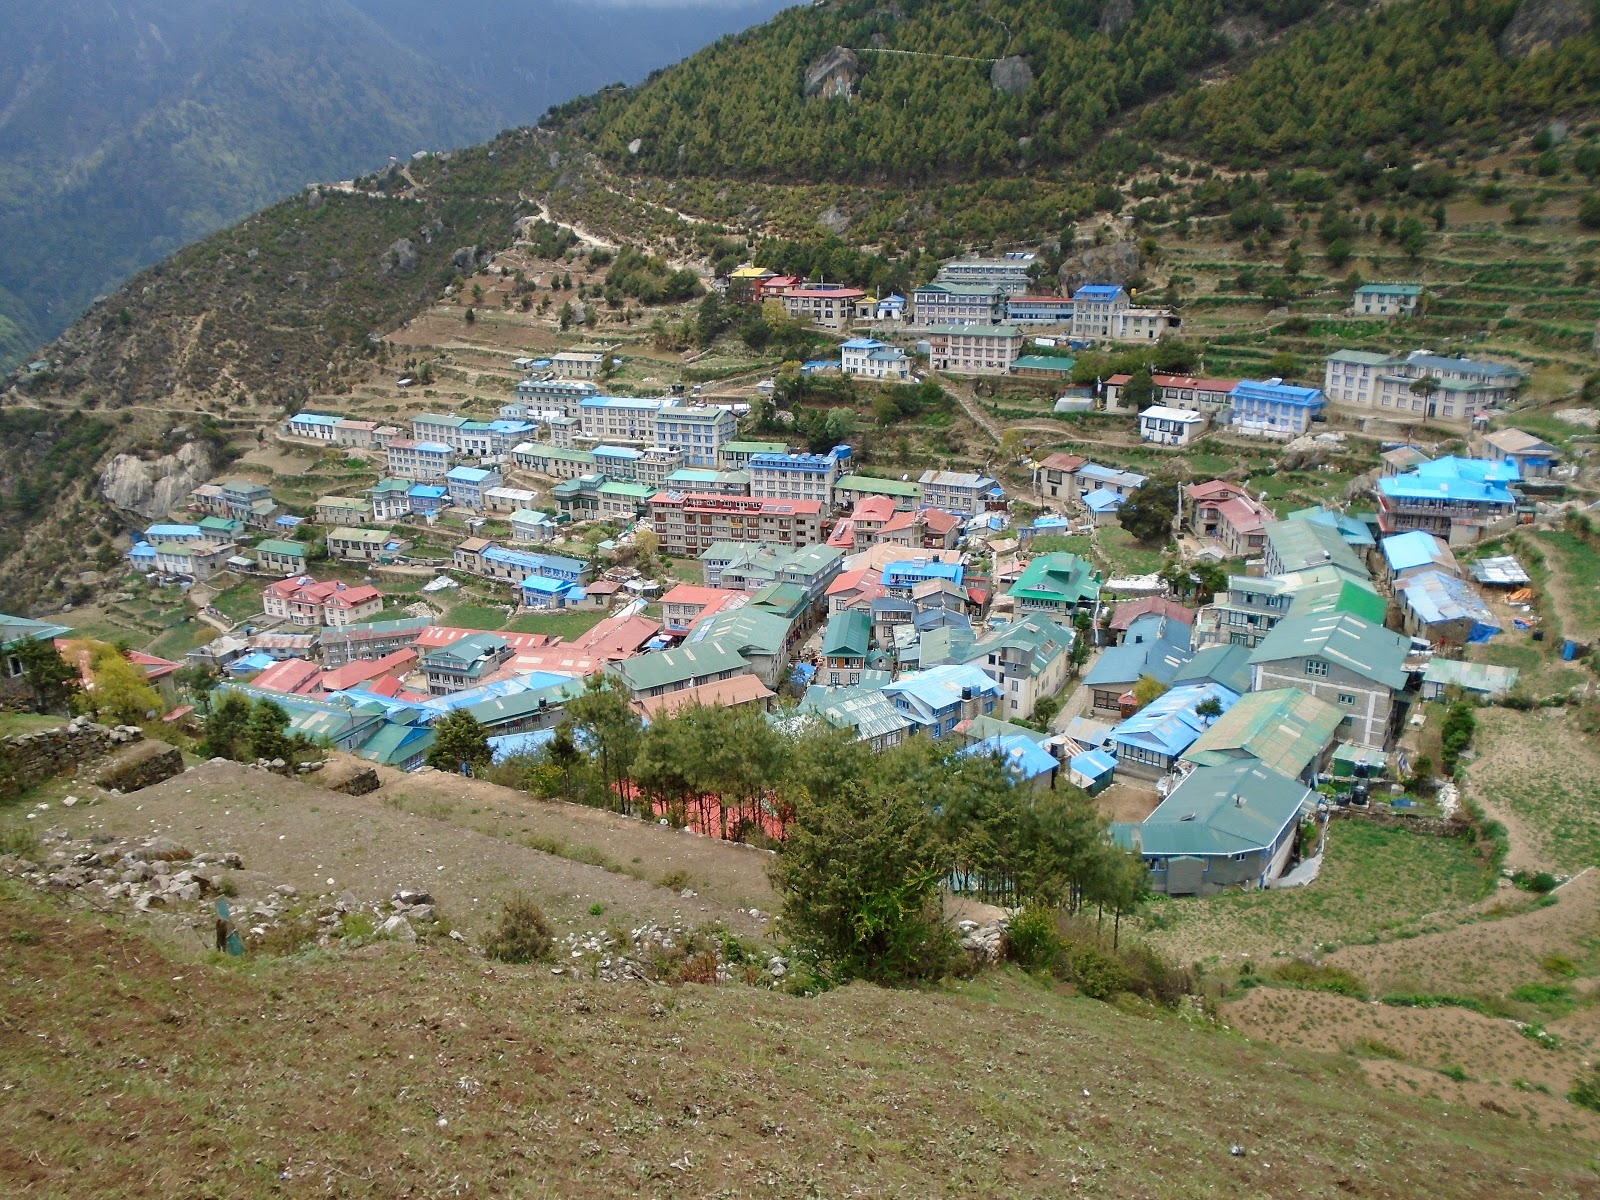
We stopped for lunch about 2 hours into our hike in a village called Monjo, where the official entrance to the National Park is located. We crossed 6 bridges on the way to Namche. The last bridge is known as the high bridge. you hike up a steep hill to get there, as it’s suspended around 100 meters in the air. The last 2 hours of the climb is up a steep cliff side. It was extremely slow going, especially in the hot sun. It did not help that whatever I ate for lunch was beginning to not sit well. By the time we got to Namche I was pretty wiped out and my stomach was killing me. I had a difficult time eating dinner because I was so nauseous, and then it hit me in the middle of the night… my first bout of traveler’s diarrhea. I knew it was not altitude sickness because of the simple fact that I had been training above 10,000′ for months. Plus, I had altitude sickness once before, this was different. I could nearly pinpoint that the goat cheese on my potatoes at lunch was the most likely culprit.

DAY 3: REST DAY IN NAMCHE- 6/1/18

After a “fun” morning in the bathroom, I joined everyone for breakfast where I tried to force down some oatmeal. The initial plan was to hike up to Khumjung, a town at 3780m (12,398′), but we woke up to heavy rain and clouds in the area. (I was pretty thankful for that) A few hours later, Juan knocked on my door to announce they were going to head up for a short walk now that the weather was clearing. After spending the morning lying in the fetal position, and taking some antacid medicine, I decided to join them to at least get out and stem some boredom.
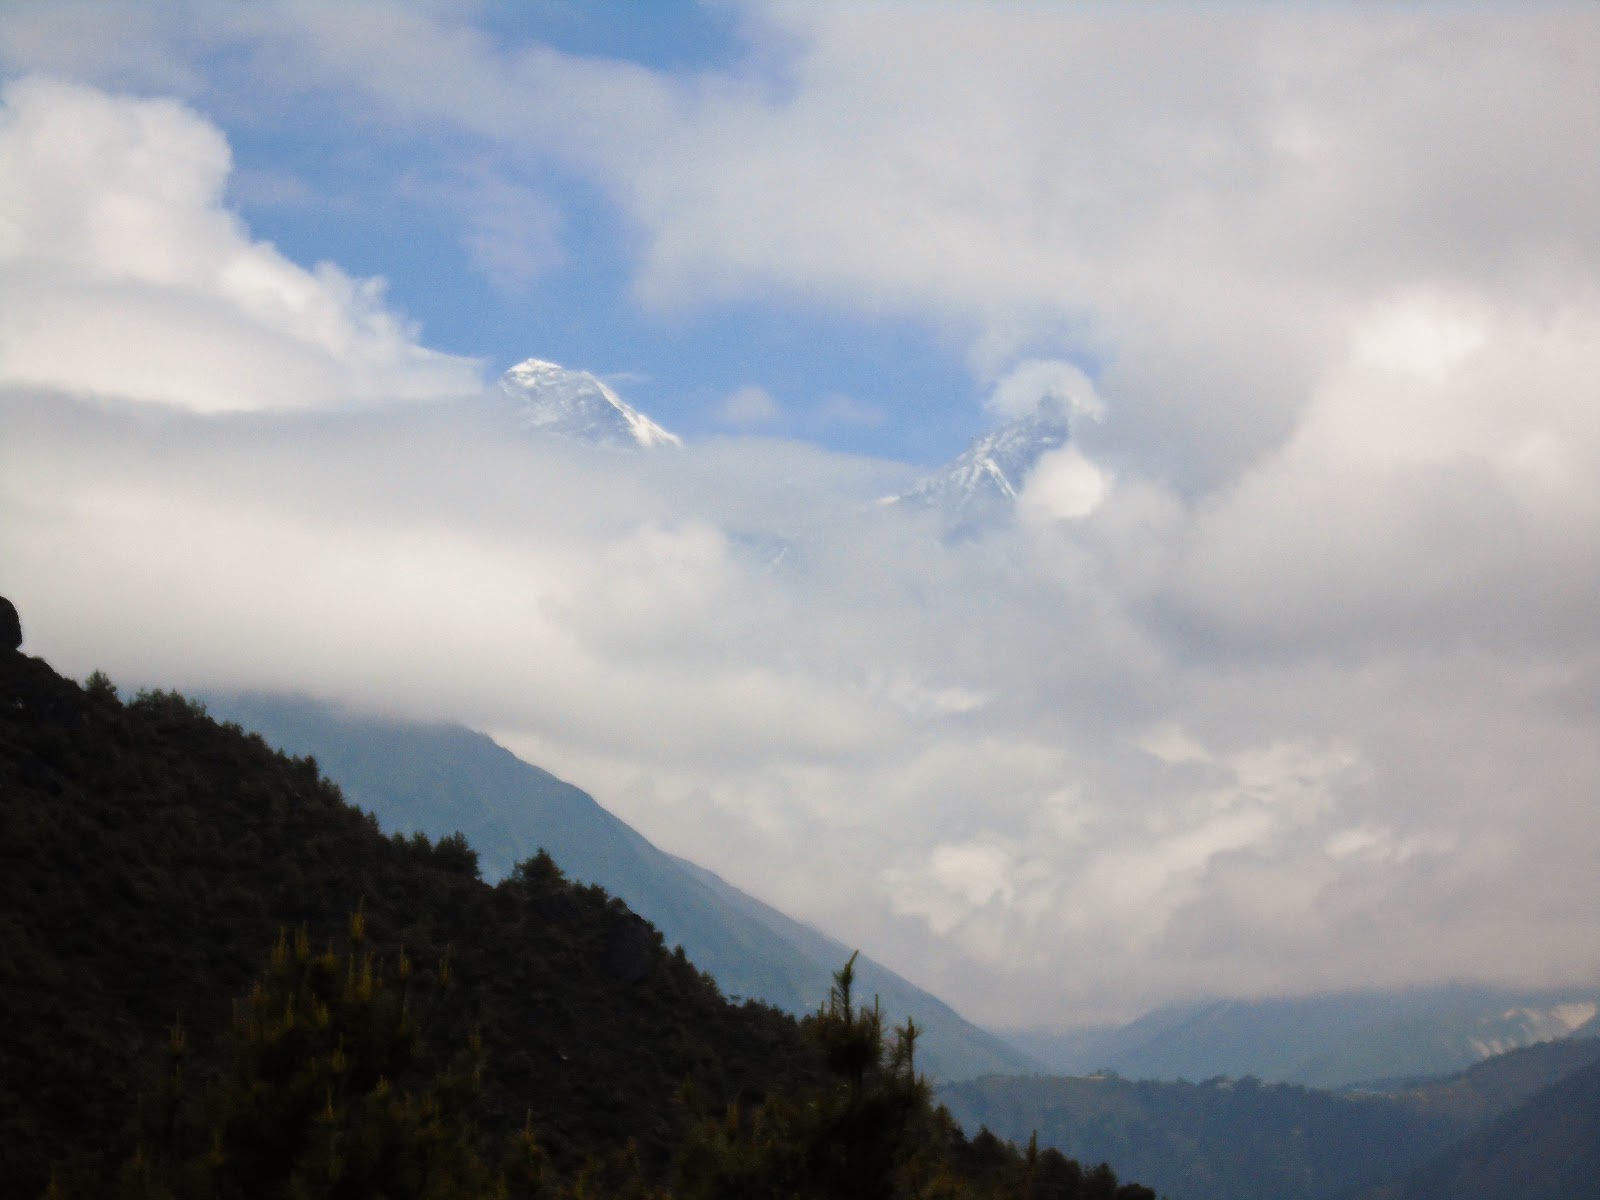
We walked up to the Sagarmatha Visitor Center, (Sagarmatha is the Nepali name for Everest) and toured around enjoying the Tenzing Norgay Memorial statue (the real MVP), as well as the various boards and displays inside the visitor center. On a sunny day, you can see Everest from this point, however, because of the clouds, we couldn’t see anything. As the clouds were beginning to move and disperse slightly, we decided to hang out on top of that hill to wait and see if the clouds would part enough to see Everest. After about 10 minutes of waiting, we could finally see Lhotse peering from behind the clouds, and moments later, Everest. I literally cried. I had been waiting for this moment for so long. to finally see Everest in person! I realized this was no longer a dream, but totally real. Despite being unbelievably sick, I had a rush of adrenaline.

DAY 4: NAMCHE TO DEBOCHE- 3,440m (11,283′) to 3,820m (12,529′)- 6/2/18
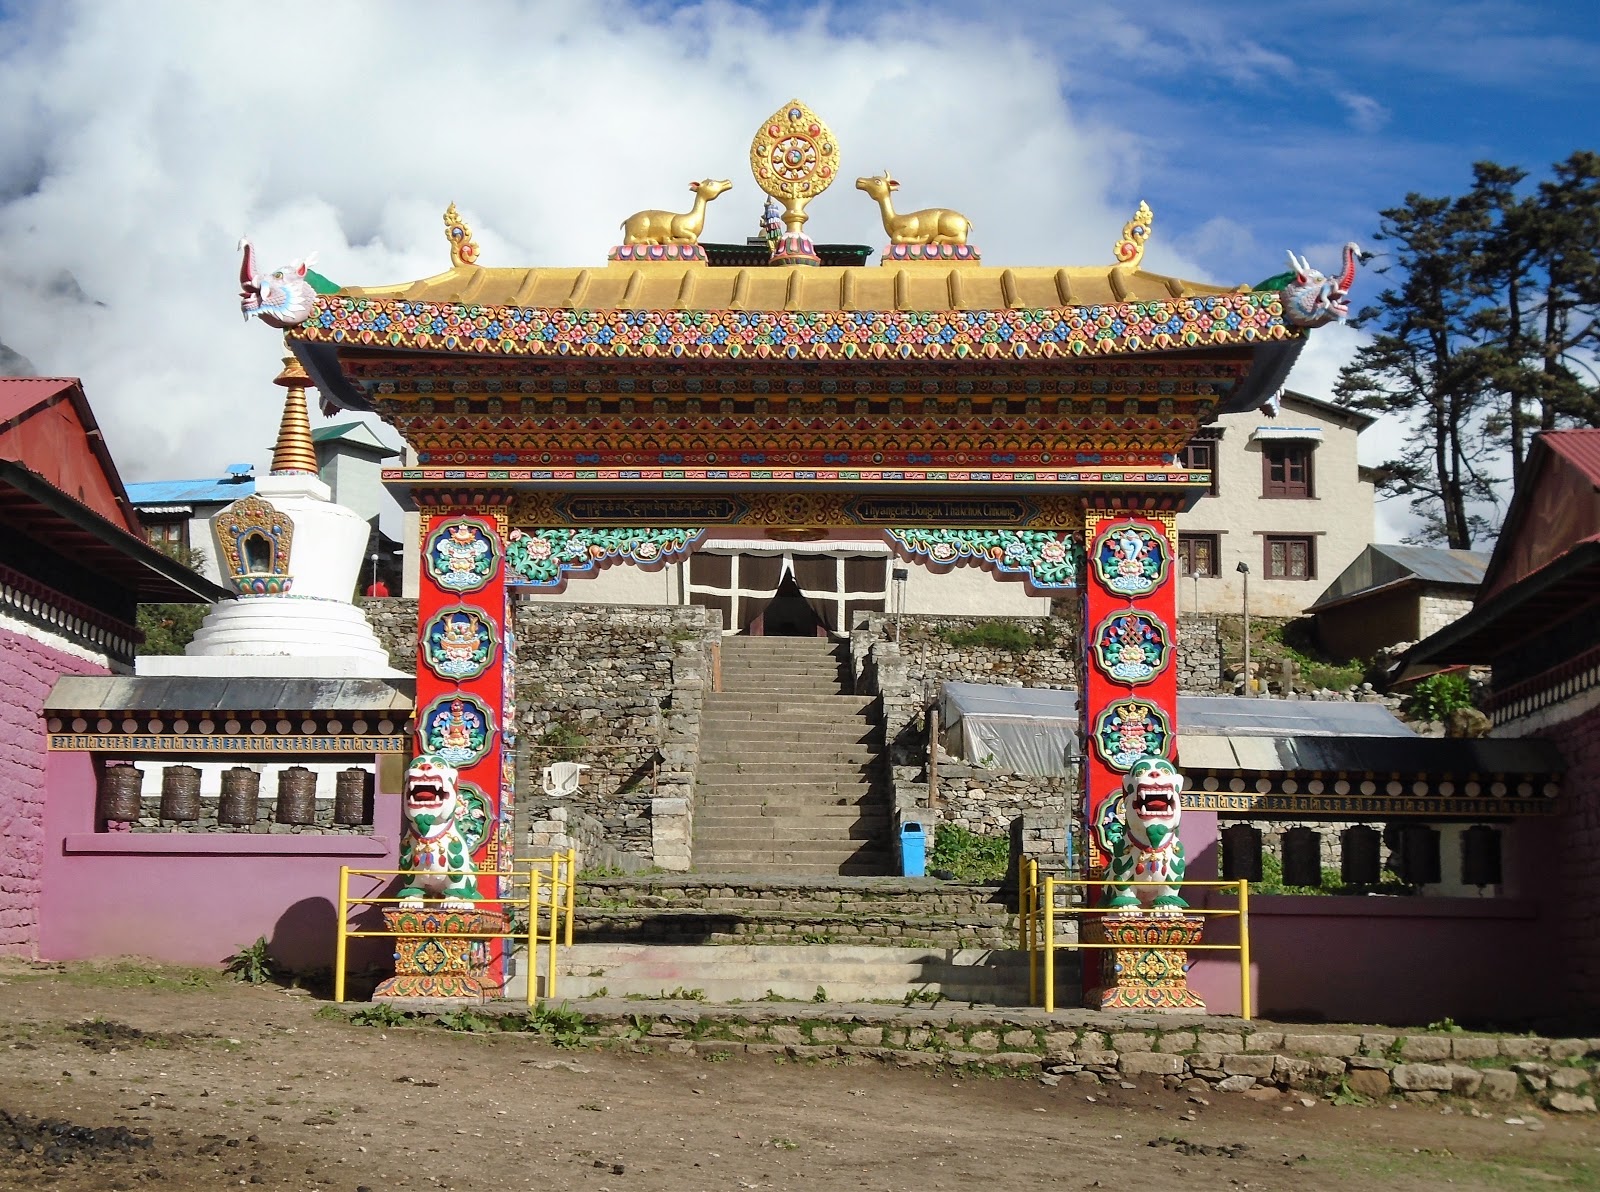
Feeling slightly better the next morning, We set off on our way to what was originally going to be Tengboche. We hiked down a steep hill to the small village of Phunke Tenga near the river, then back up another steep hill to Tengboche and the Tengboche Monastery. We toured the grounds, taking in the beautiful artwork inside the monastery. I absolutely LOVED the detail and the colors. It was very warm and inviting. I only wish we had been there for a Puja ceremony. That would have been incredible to see.

Then came time to find our lodge. Due to the fact that we were trekking in “off season”. Many teahouses close as families head to Kathmandu for the summer. The teahouse we meant to stay in was closed, so we hiked down into the rhododendron forest to the small village of Deboche. The bright colors of the flowers were incredible! Pinks, yellows, and white, colored the trees and the ground.

DAY 5: DEBOCHE TO DINGBOCHE- 3,820m (12,529′) to 4,410m (14,464′)- 6/3/18
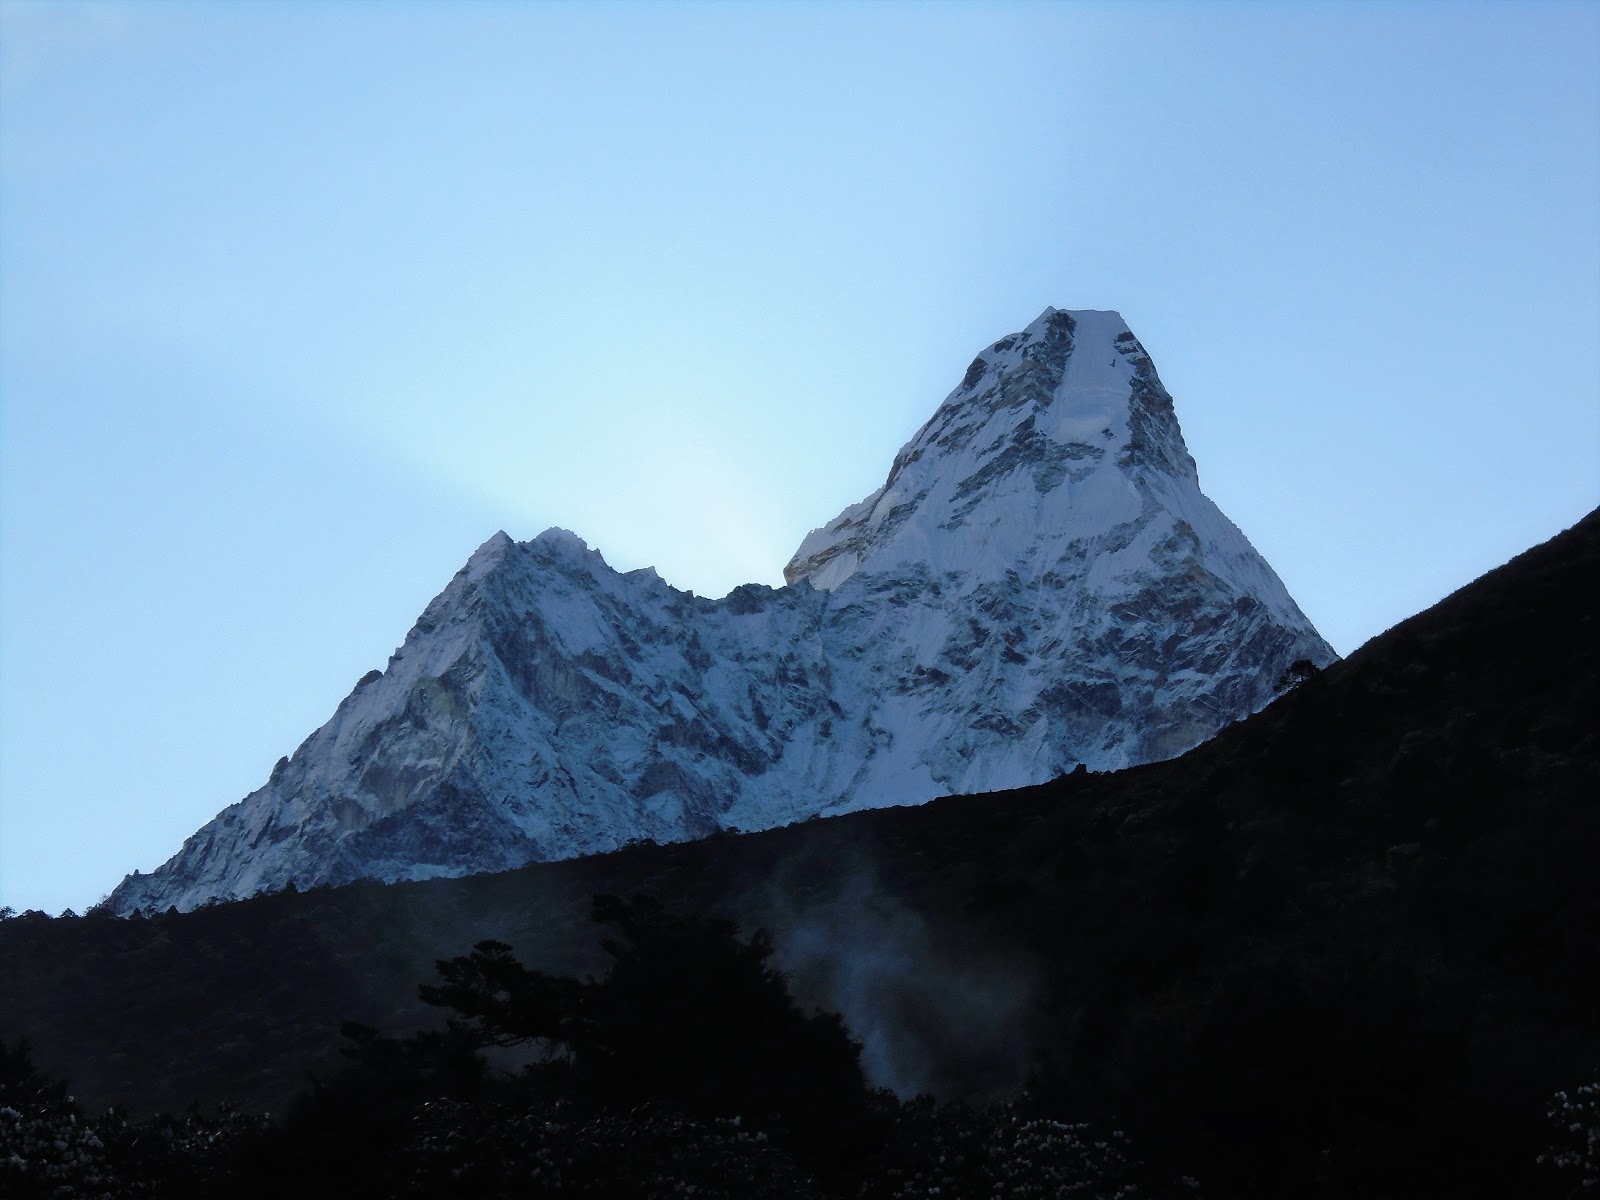
We woke up to a beautiful view of Ama Dablam as well as Everest, Nuptse and Lhotse. The hike was fairly gentle in incline compared to the steep hills I had been climbing before. What was predicted to be a 5-6 hour hike, we did in 4 1/2! At this point in time, I was officially the highest I have ever been. at 14, 464′ I was higher than any peak in Colorado, higher than Mount Rainier, and almost as high as Mount Whitney, the tallest mountain in the contiguous United States at 14,505′. But, it didn’t feel like I was over 14,000′. I was acclimatizing very well and my stomach was improving.

DAY 6: DINGBOCHE TO LOBUCHE (My favorite day)- 4,410m (14,464′) to 4,910m (16,104′)- 6/4/18

Words cannot describe the awe, beauty, and spiritual nature of what I had seen this day… I like to think that I have a very good eye for pictures, especially outdoors, and I still don’t think I did it any justice. I came here, not only to reach a lifelong goal, but to also go on a spiritual pilgrimage of sorts and this day fulfilled a big part of that spiritual side.
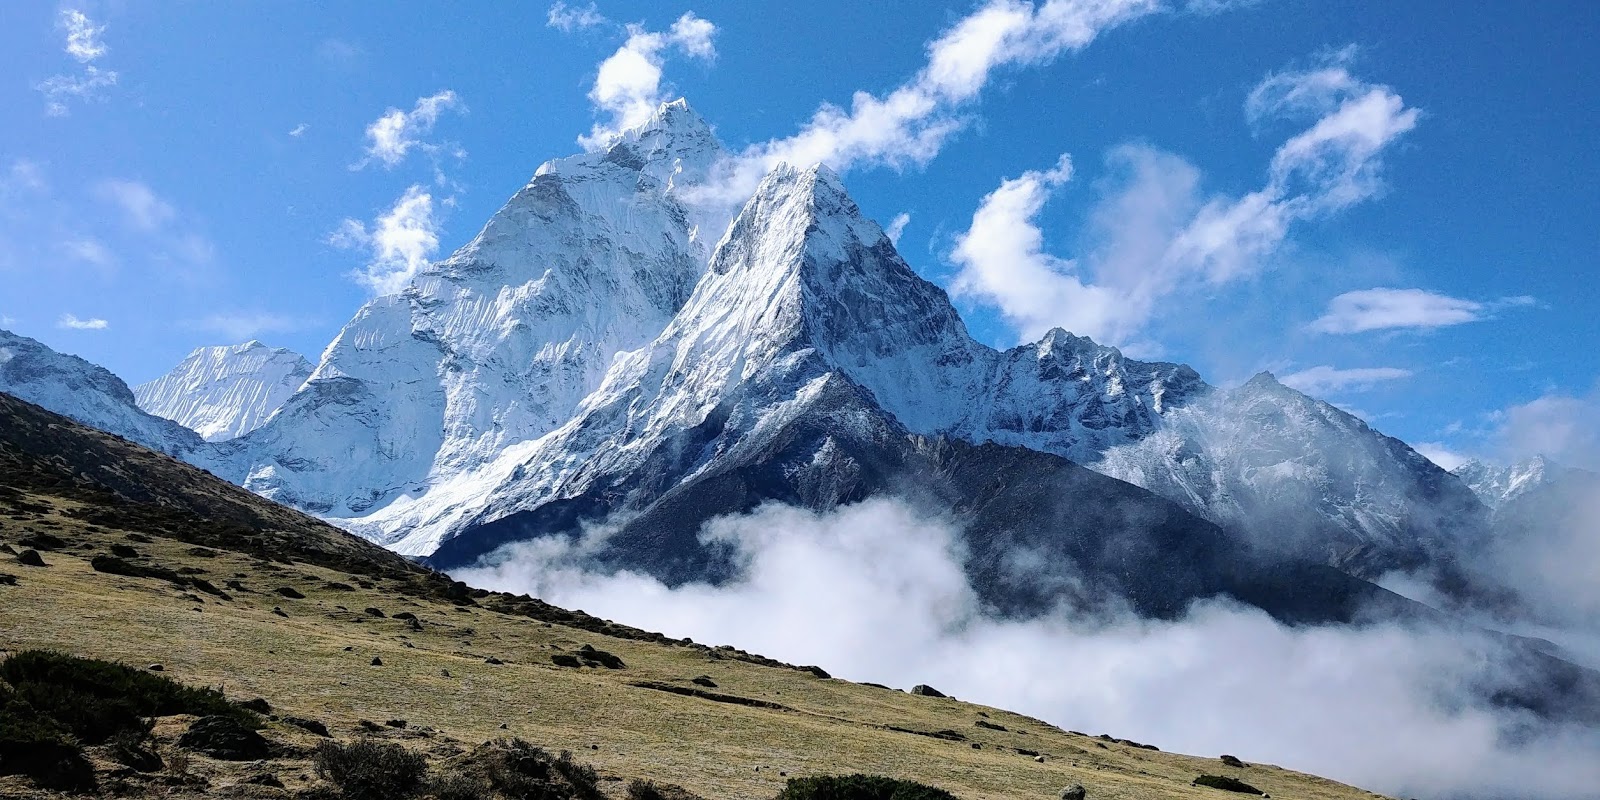
To start, we climbed up the tundra hills above Dingboche. The clouds parted and we had 360 degree views of the Himalayan peaks that surrounded us. I am officially convinced that Ama Dablam is the most beautiful mountain in the world. Everest may the the highest, but it’s not “pretty”. Ama Dablam was stunningly gorgeous. I literally stopped and told myself “don’t sit down or you will never leave.” We took our time in those hills taking dozens of photos. The clouds sweeping by below us added an element like we really were in heaven. I have never seen anything more beautiful in my life.
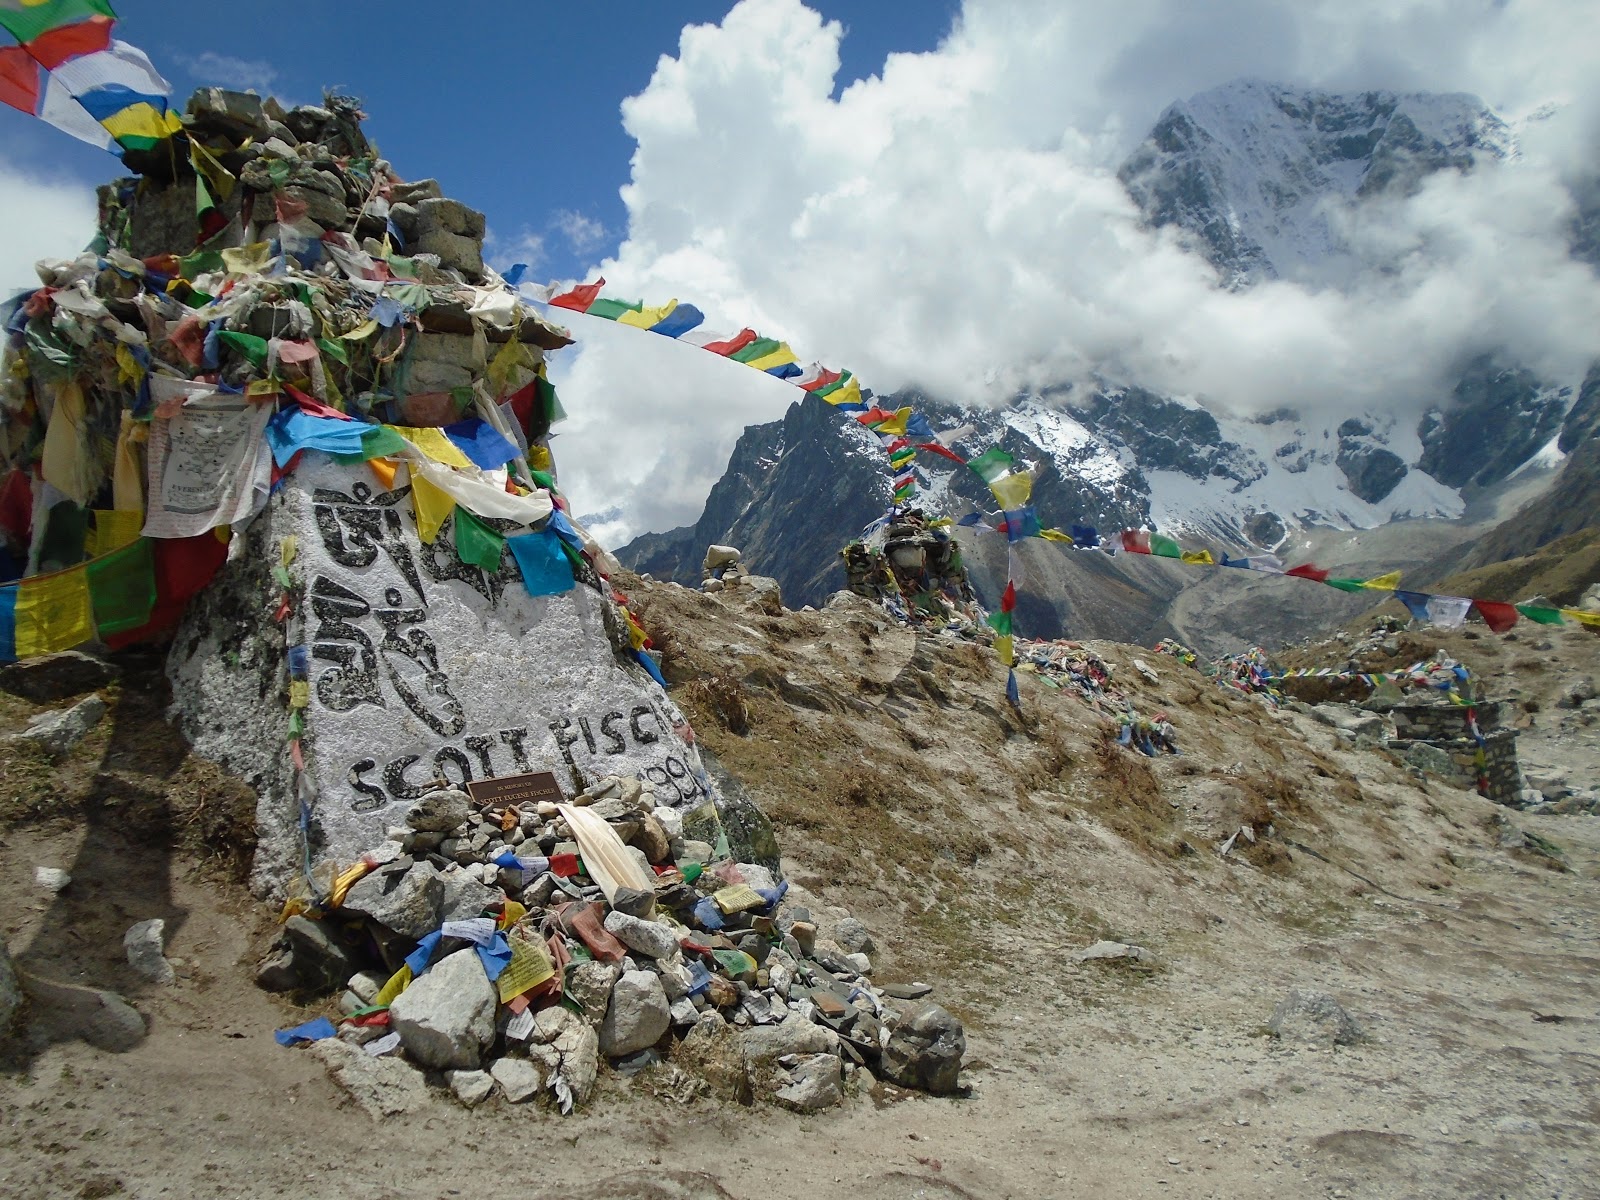
After a quick lunch in Tulkla, we climbed a steep rocky hill to the Sherpa Memorial field where tombstones and stupas of climbers who died on Everest and other nearby peaks cover the hillside to remember those who have fallen. The spirit of this mountain is unreal. You could really feel how sacred of a place this had become.

Walking onward, the view opened up to the Khumbu region where Pumori dominated the view, Nuptse stood out infront of Everest, and You could see over the ridge into Tibet where Changtse is visible at 7,543m (24,747′). (You can literally see China!)

DAY 7: LOBUCHE TO GORAK SHEP AND EVEREST BASE CAMP!- 4,910m (16,104′) to 5,140m (16,859′) and 5,464m (17,600′)- 6/5/18

My lungs were definitely beginning to feel the lack of oxygen but my body felt like a freaking amazon warrior! Hung out at base camp for over an hour, playing around in the glacier and I was amazed at how well I felt. From Lobuche, we walked along a fairly flat path to Lobuche Pass which led to the surprisingly intense Changri Glacier crossing. Navigating the crazy rocks was all over the place. Finally, we made it to Gorak Shep, where we would be spending the night.
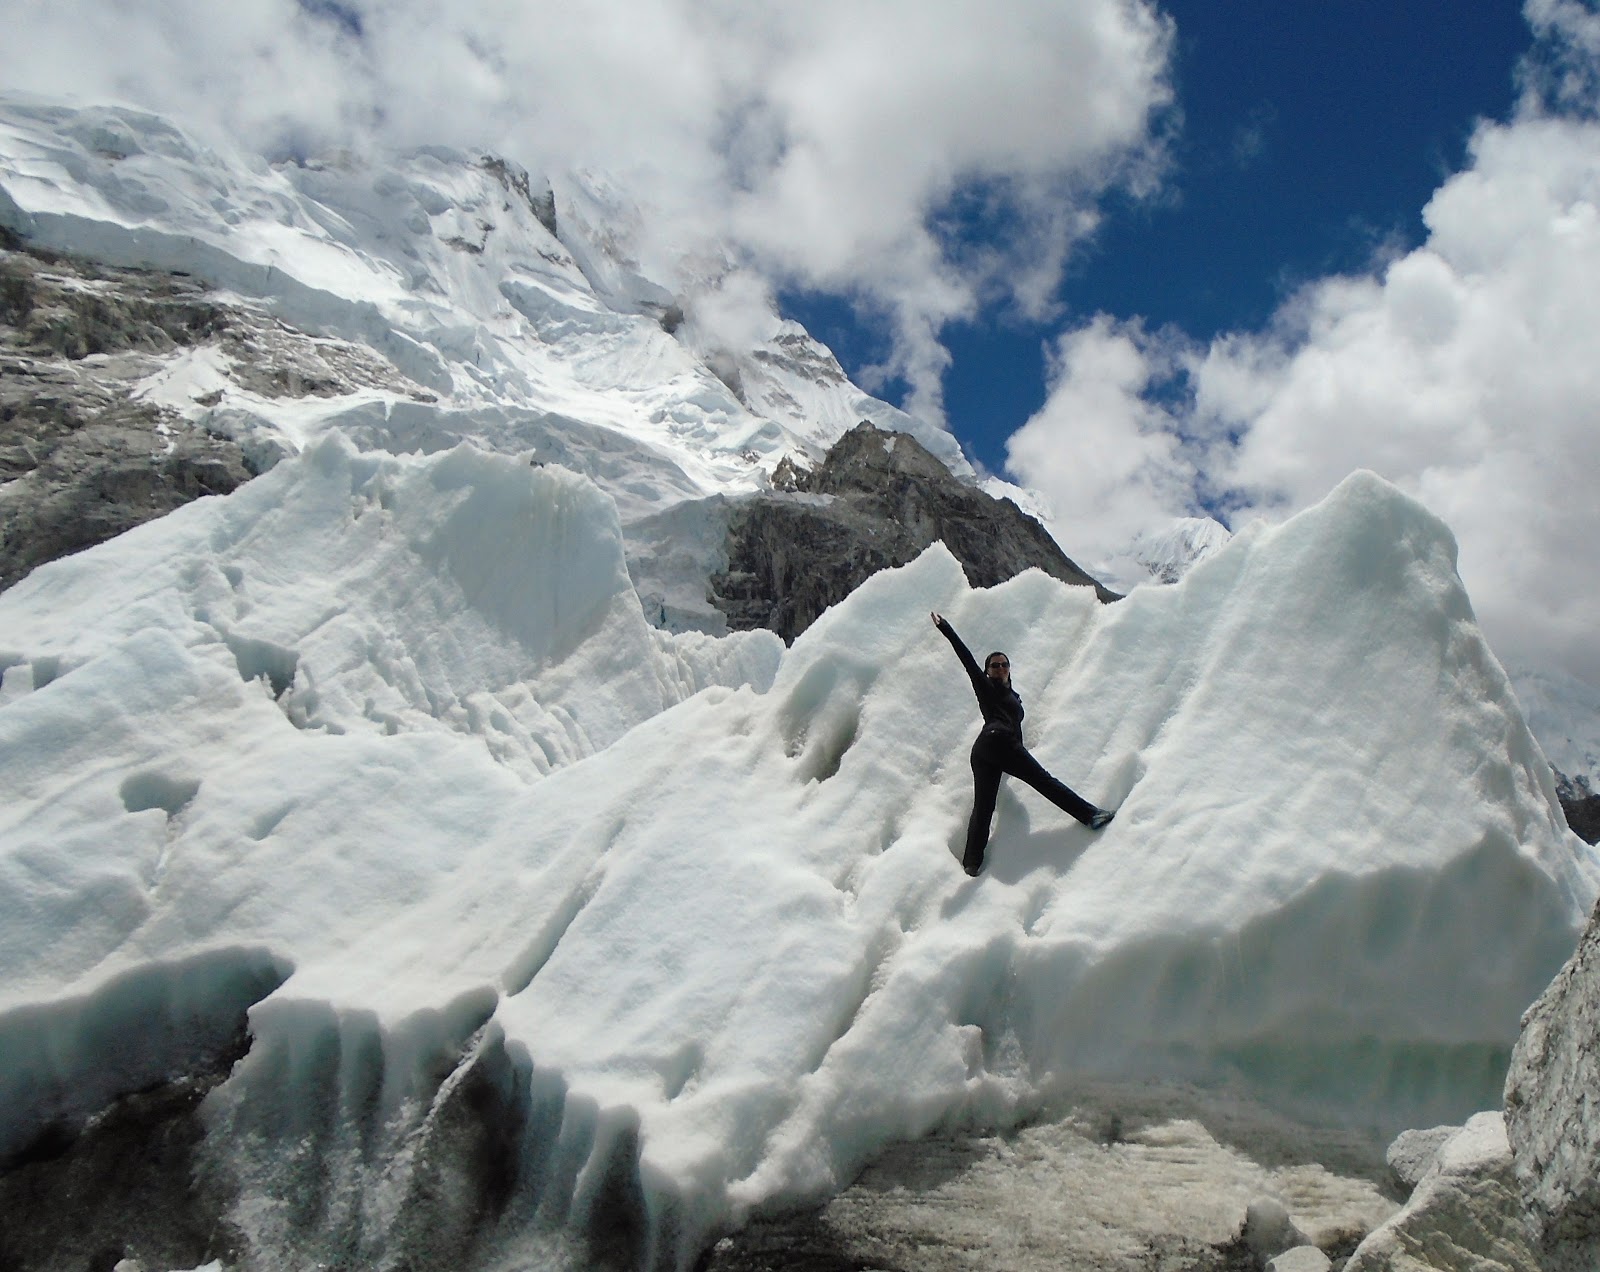
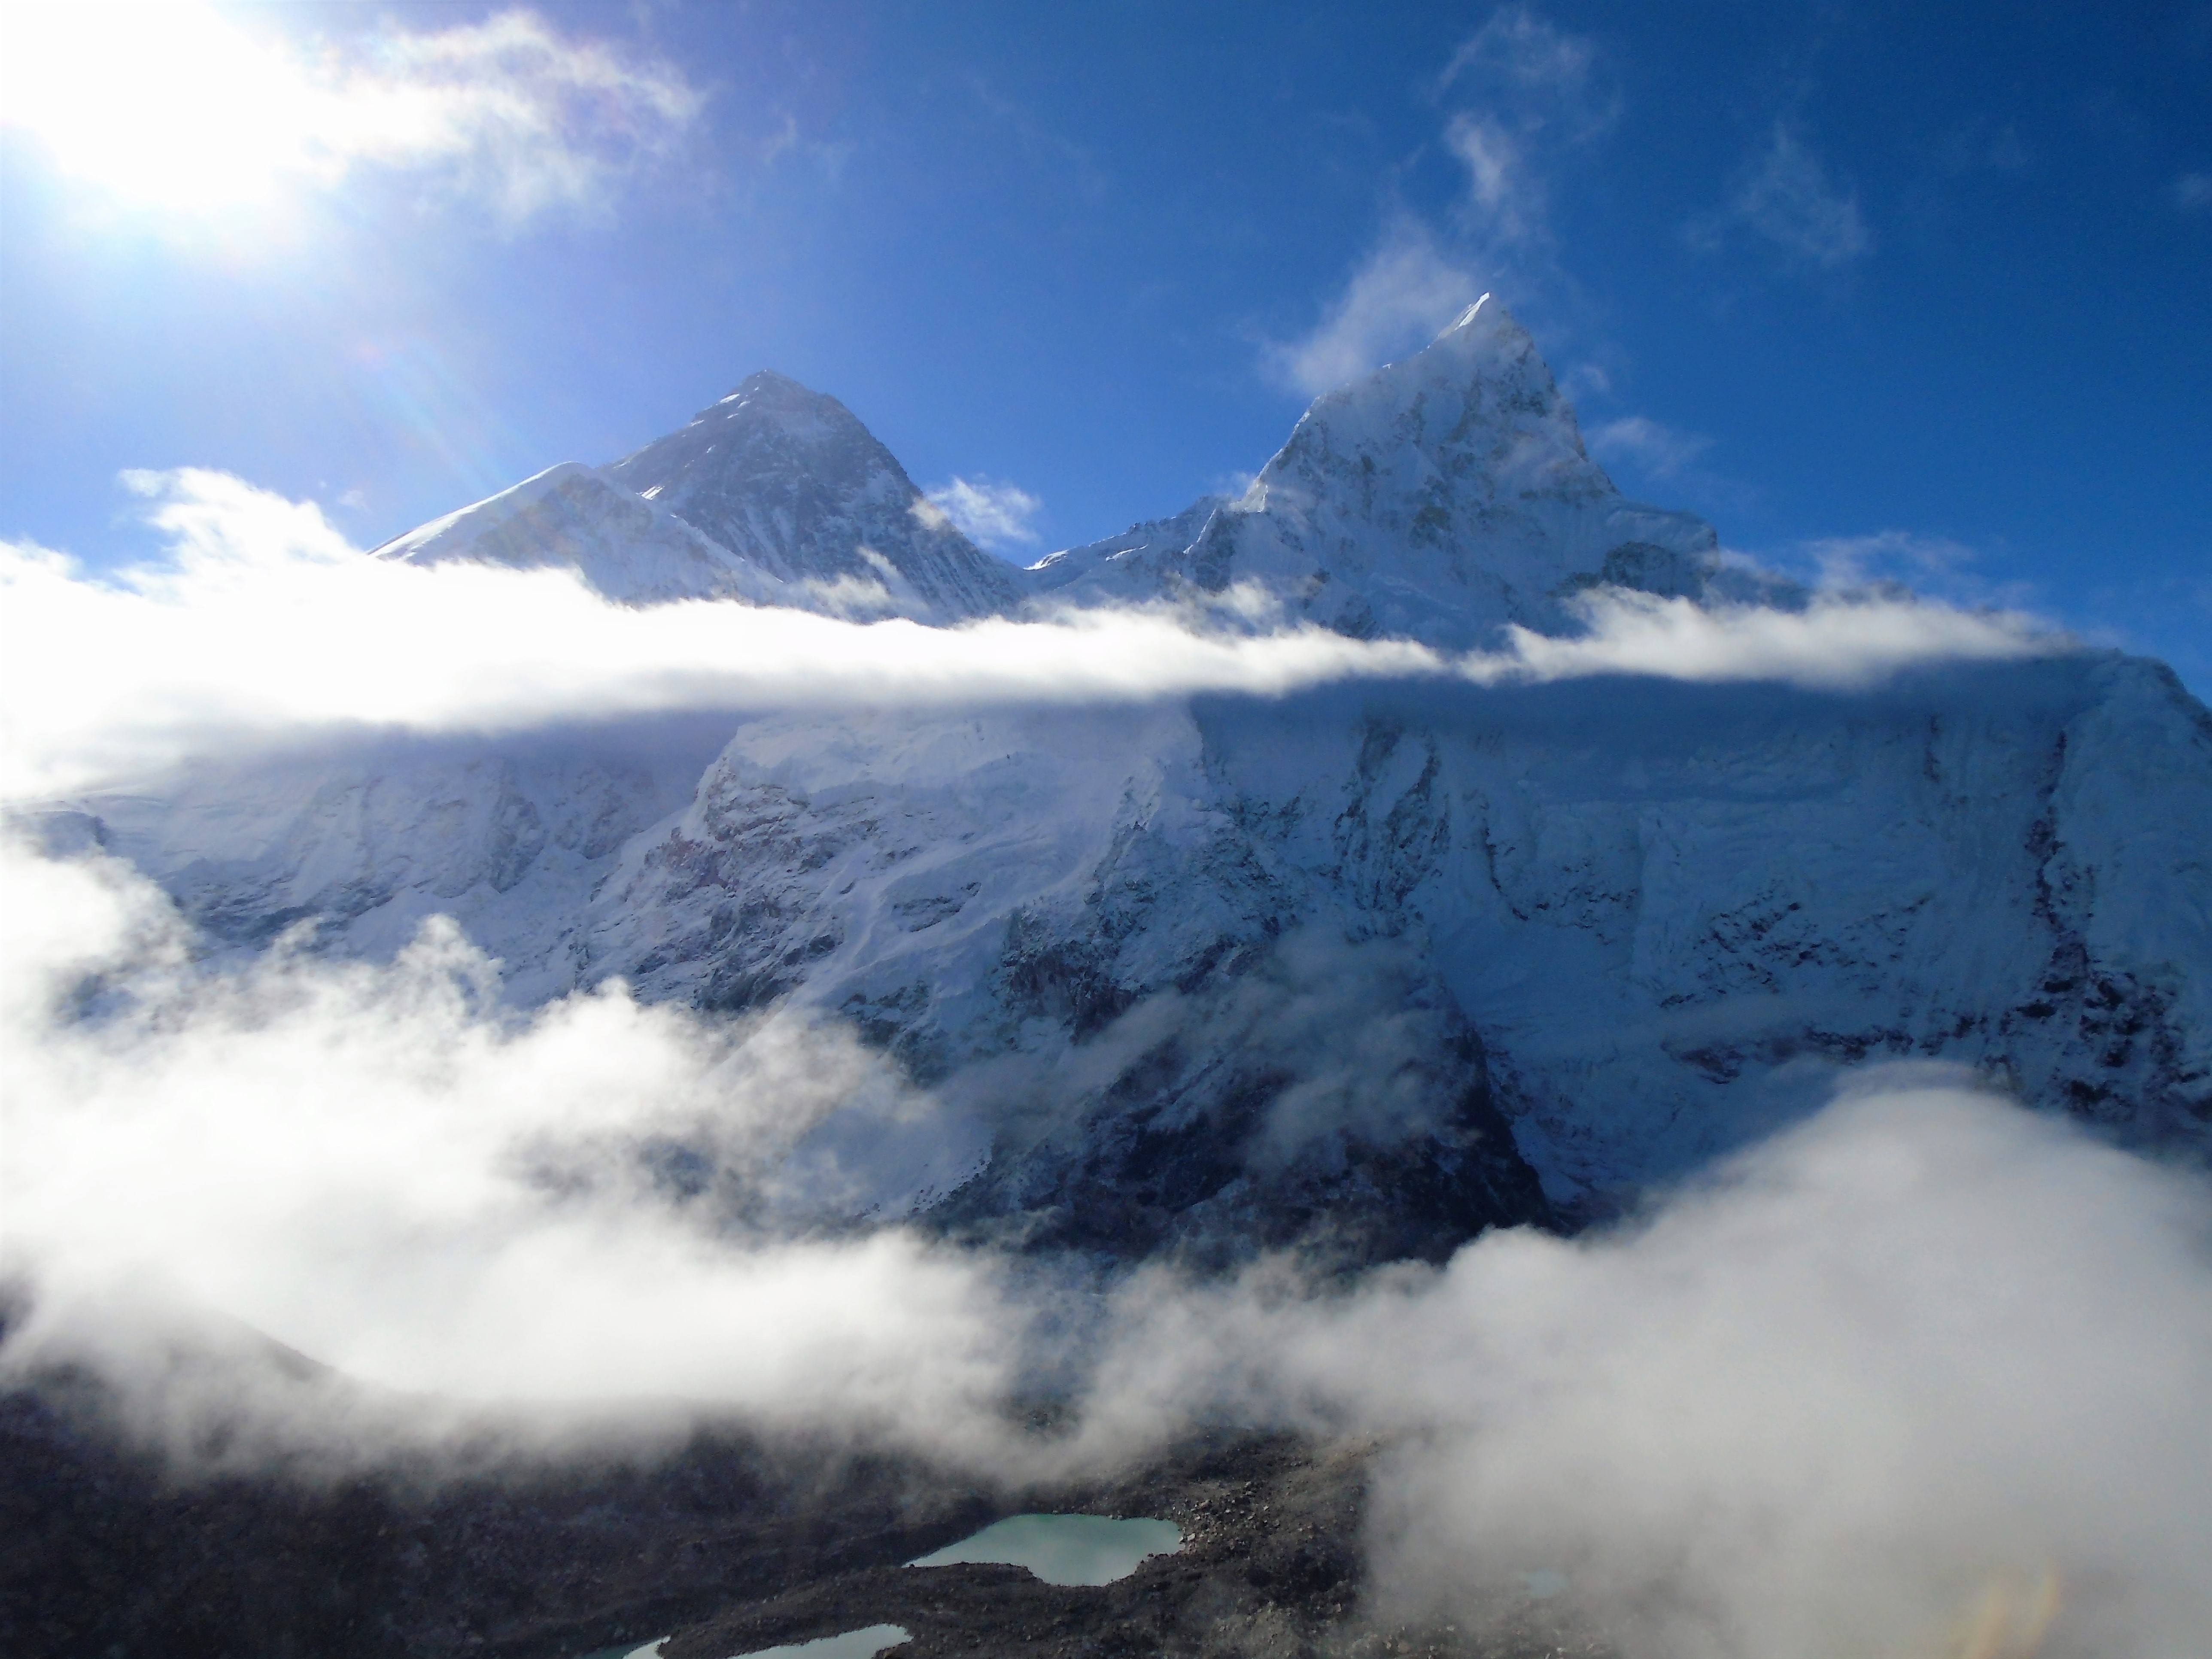
 After a quick cup of tea and dropping off our bags, we continued onward to Base Camp. Nuptse dominated our views and it was massive. The tip of Everest’s summit was peering out behind it, and below it all was the Khumbu Glacier. A mix of rocks and ice, like nothing I had ever seen before. We could hear shifting, creaking, and cracking as if the mountain was alive, trying to speak.

When we arrived at EBC, it was like a playground of ice and rock. Climbing season is over so it was completely empty and there were no tents left, but I can imagine sleeping on the wet rocks and having the ice and water constantly moving beneath you. How do you sleep?! The Khumbu Icefall is MASSIVE. in photos, movies, and documentaries don’t show how steep it really is.

After Playing in the glacier, we headed back to Gorak Shep to rest, and get some sleep before our early morning ahead of us.

DAY 8: KALA PATTHAR SUMMIT AND BACK TO DINGBOCHE- 5,644m (18,519′)- 6/6/18

The morning started out very cloudy and socked in. We started climbing Kala Patthar at 5am from Gorak Shep. I hit a wall pretty early into my climb. It was incredibly steep and the lack of oxygen was finally catching up with me in the sense that I would begin to feel a sense of panic whenever I had trouble catching my breath. I would have to stop, calm down, and let my breathing regulate. Part of me wanted to turn back on multiple occasions because of the crappy weather. I didn’t want to make it to the summit and not be able to see the view. But I kept pushing and near the end, I was having to take nearly 10 breaths for every step I took. 

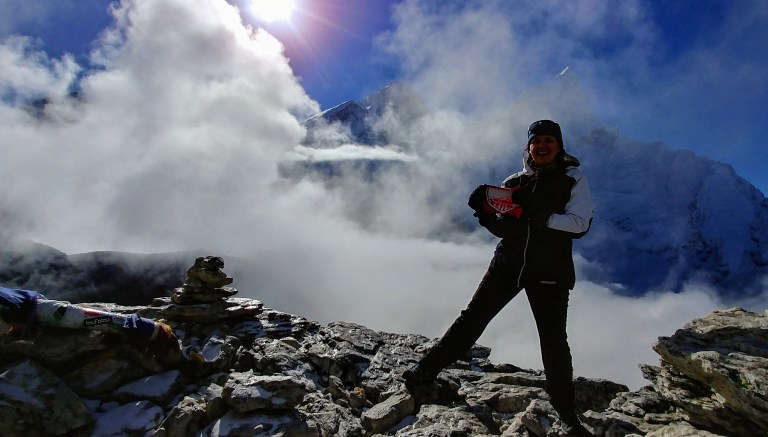
Luckily, during the last 20 meters or so to the summit, all of the sudden the clouds began to open up and I managed to see an amazing view of Everest, Nuptse, and the Khumbu Glacier just long enough for a few photos before the clouds closed back in on us. I was exhausted, and out of breath but glad I completed my goal. I had finally seen Everest and Base Camp, and that’s when it began to sink in that I didn’t think that I had it in me for another summit. Island Peak was a bonus, an add-on to my original goal and at this point, I felt like I bit off more than I could chew with my first trip to the Himalayas. I was exhausted, hungry, homesick, and really just kind of done at this point of the trip. I no longer had the desire or even felt the need to climb Island Peak anymore. However, we were headed in that direction anyway, so I kept it in the back of my mind, and was still open to the possibility. After Kala Patthar, we ate breakfast at Gorak Shep then headed all the way back down to Dingboche. A long day for sure, but it was nice to breathe the thicker air.

DAY 9: DINGBOCHE TO CHUKKUNG- 4,410m (14,464′) to 4,730m (15,514′) 6/7/18

My second bout of food poisoning began this morning. I woke up feeling a little nauseous, had trouble eating breakfast, but not thinking much of it initially. but as we began our ascent to Chukkung, it hit me like a wall. I thought I was gonna puke. Was it the vegetables in the spring rolls I had for dinner? or the hot chocolate I had before bed? Either way, I was back to boring foods… Despite wanting to throw up with every step, The hike to Chukkung was pretty short. I spent the rest of the day in bed, trying to let my stomach subside, and then it was time to make a decision. The next day we were supposed to head to Island Peak Base Camp, but I had the option of staying behind while Juan and Gadul joined another guide to make a summit attempt. I felt weak, burned out, sick enough that it seemed like the right decision.

DAY 10-11: WAITING IN CHUKKUNG- 6/8-9/18
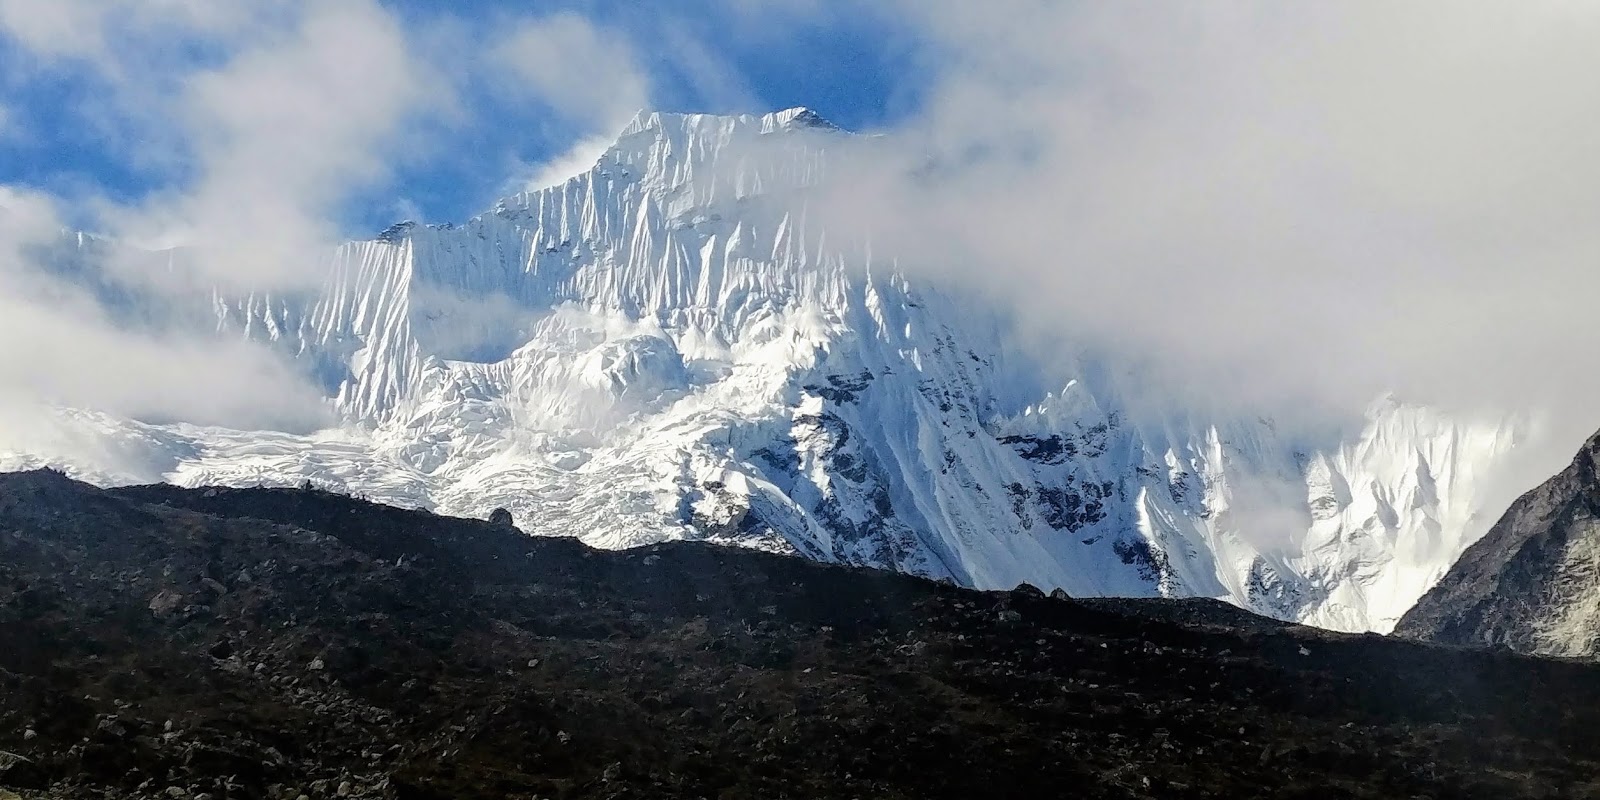
The boys left at around 9:30am for base camp which was actually fairly late. We spent the morning waiting out heavy rain before they decided to leave. My stomach was still a mess, and I was still struggling to force down any food. Entertaining myself all day was a struggle, and by the time I went to bed, the doubt began to creep in… “Should I have just gone and tried? Am I giving up?” I had to remind myself how sick and weak I really had become. Even Gadul mentioned he could tell I had lost a lot of weight, and was worried. There is no way I would’ve been able to endure a 16 hour high altitude climb in the condition I was in. By morning the next day, I could FINALLY see Island Peak. towering 5,000 feet above me was a giant wall of ice. I confirmed with myself, there was absolutely no way. Reports from Gadul and Juan talked about waist deep snow from the night before and hidden crevasses EVERYWHERE under the snow. Due to the late season conditions, melting was causing the route to be extremely unsafe, especially near the end so they turned around about 200 meters or so from the summit.

DAY 12-16: DOWN WE GO- 6/10-14/18

The downward crawl had long days. Both Juan and I reminisced on foods we missed back home and miles seemed stretched as our tired legs headed back down from Chukkung to Deboche, Deboche to Namche, and Namche to Lukla. We then spent the next 3 days in Lukla due to weather. We were scheduled to fly out on the 13th, but no planes came at all that morning. We then booked new tickets for the next day in a second attempt however, weather closed in quickly and before our plane was scheduled to take us back to Kathmandu.
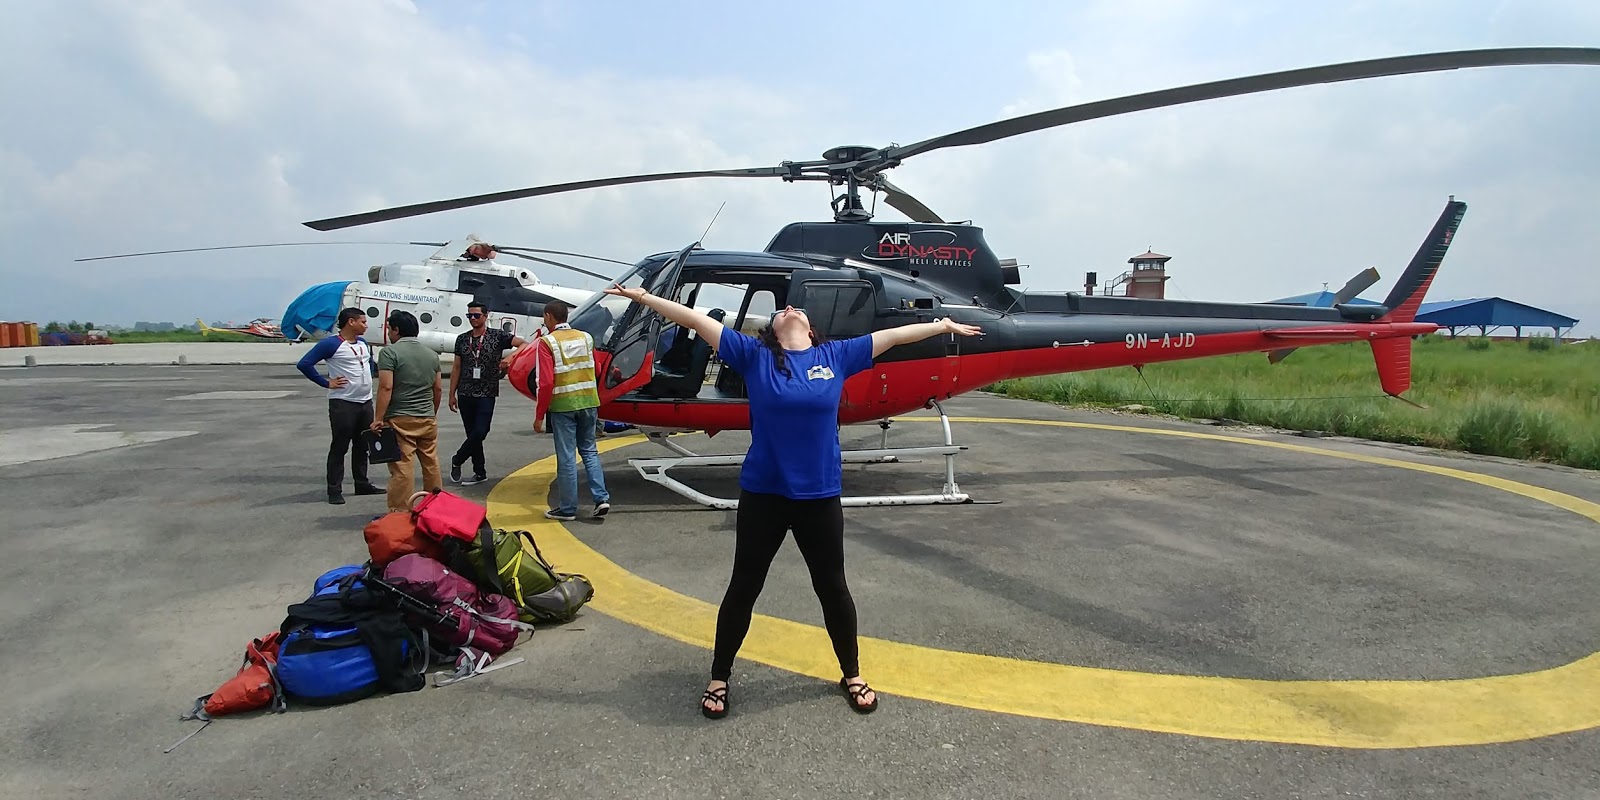
I was scheduled to fly home the next day, and after checking the weather for Friday, it was safe to assume no flights would come the next morning so we looked at our second option: paying $500/person to fly on a helicopter. We decided to go for it, and even that was an anxious waiting game as clouds were even to thick for the helicopter much of the day. They were finally able to land to pick us up and take us back to Kathmandu. It was worth it.
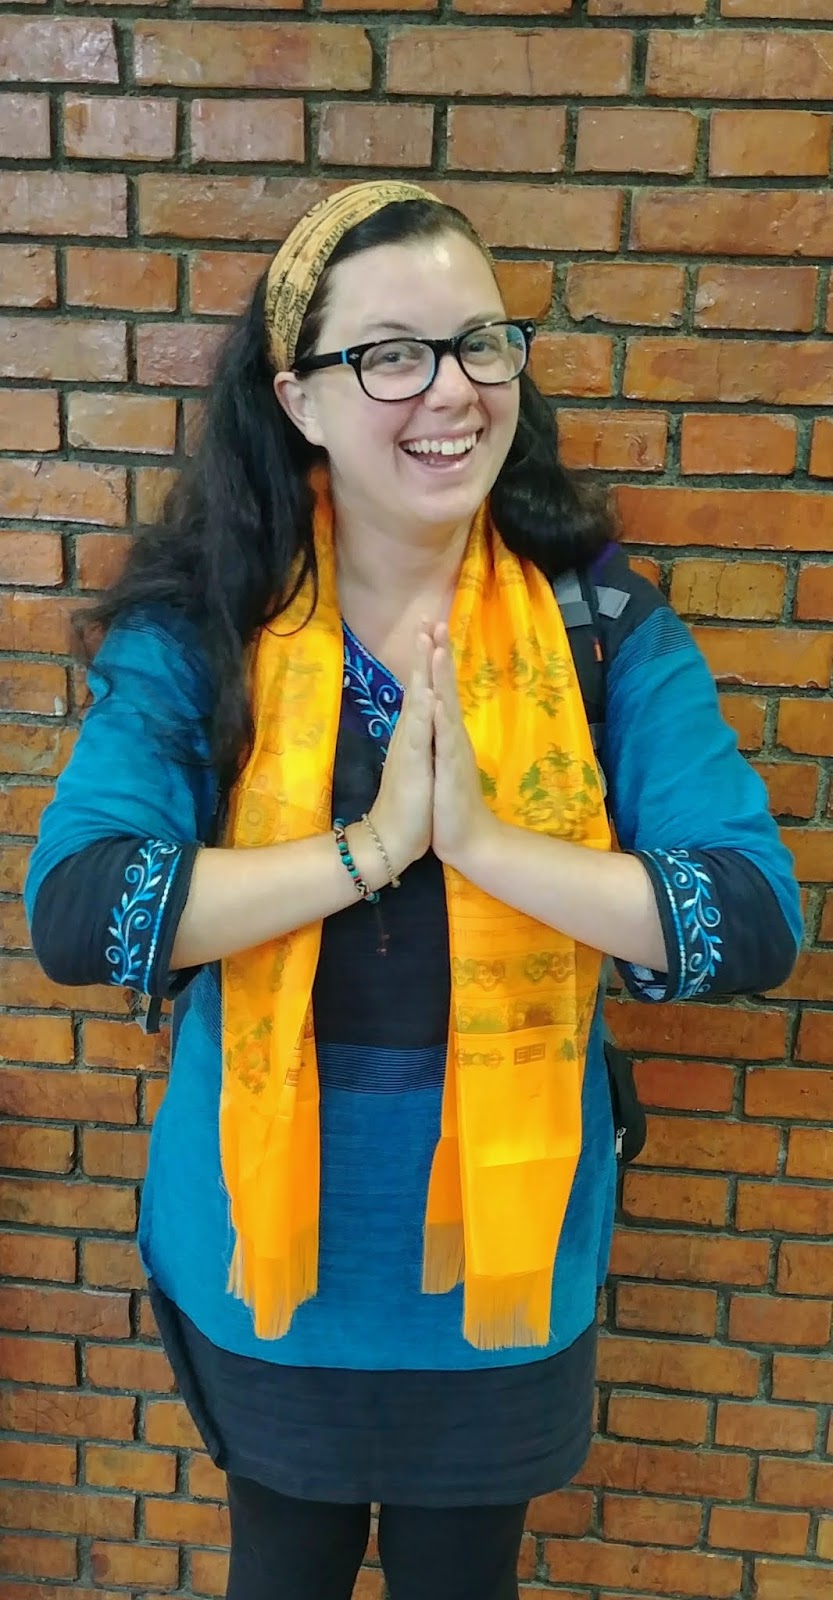
Overall, I loved Nepal. I loved the culture, the people, the mountains, and I would do it again in a heartbeat. It had it’s ups and downs, but for a first trip to the Himalayas I felt like it was a successful endeavor. I hope you enjoyed my long winded report. I know it was a lot to read through. Be sure to read What I learned About Myself In Nepal as well!

What You Need to Know About Traveling to Kathmandu, Nepal

Report from 5/29/18

I woke up this morning feeling a bit better than I did when I first arrived. The excitement returned, and I slept off some of the anxiety that accumulated. However, that does not mean that anything changed Kathmandu is honestly a city that is very loud, dirty, and traffic is absolute nonsensical chaos. I knew all this going in, but it doesn’t matter how much prep and research you put into it, nothing will really prepare you for your first time alone in a 3rd world country. And that is exactly what I am going to debrief you on today: The ugly, and the beautiful.

This morning I met my one other climbing partner that signed up for the same date block as I did. I do feel better that I’m not alone. Besides us two, our team will consist of 2 guides and 1 porter. There will also be a cook and staff up at Island Peak Basecamp. After our briefing meeting this morning at the Himalayan Glacier Office, our awesome guide took us to a few iconic sites. (I will tell you his name when I figure out how to spell it).  As excited as I was walking through the beautiful streets of Thamel that morning, here is where it gets interesting and my blood pressure probably shot through the roof: We had to take a taxi… in daytime Kathmandu traffic…

First off, I would like to say that after what I survived today, climbing a giant mountain is going to be easy! Now, you’re probably asking yourself “wait, what?!”. Let me explain… I am a very anxious person. I like the mountains because of the solitude. I hike alone most of the time because I like the quiet, and peace that comes from being in those mountains. I love that I live with trail heads in my backyard. I HATE going into the city. It’s stressful, fast paced and crowded. I’m not a fan. Anytime there is some sort of event, or party or something that forces me to go into downtown Salt Lake, I cringe, I complain, and I get stressed out. I deal with it, and I’m just thankful I don’t live somewhere like New York City or LA. Kathmandu is a very crowded, and very densely populated city. For those at home Kathmandu Valley is much like Salt Lake Valley… only half the size and double the population.

So, I put a crazy amount of faith into this taxi driver as he drove us all over town. This is what I learned about Kathmandu Traffic:

  1. There are no rules of the road… not really anyway. There are lines on some streets, and there are these weird giant pillars in the middle of certain intersections, and occasionally you will see traffic cops helping move things along on the busiest streets, but really, there is nothing like you see back at home. No street signs, speed limits, not even stop lights! Everyone just kind of goes. 
  2. Nepali drivers are probably the best drivers in the world, and Utah drivers really are probably the worst. Despite the seemingly organized chaos on the streets of Kathmandu, Nepali drivers have mad skills. They have to be extremely attentive. It’s like you’re driving through a neighborhood and kids on both sides of the street are accidentally kicking their balls into traffic, constantly. They are also incredibly aggressive and assertive drivers. Now, I don’t mean angry or road rage-y, I mean they find any window of opportunity and take it. There is CONSTANT honking, flashing brights at each other and weaving around cars and bikes, but non of it is with hostility, it’s all done as almost like a note of “hey I’m here” to bigger cars or pedestrians. 
  3. Traffic RARELY comes to a standstill. In rush hour in Salt Lake, there are several areas of the Valley that come to a complete standstill. In Kathmandu, because everyone is forcing there way around everyone, traffic is always moving.
  4. Car accidents are rare and if there ever is a car accident, it’s usually not a big deal. We have a max speed limit of 80mph in Utah. People die… all the time. Wrecks at home are often horrific. Because of the attentiveness of everyone on a bike or in a little Suzuki driving around Kathmandu, nothing really ever happens. There appear to be close calls everywhere to the untrained eye, but once you figure out how it all sort of “works” you realize that’s normal traffic for them. 
  5. Cows chill in the road. So do goats and monkeys. 

Now for the cool part. The part everyone scrolls down past all the other stuff to read right?

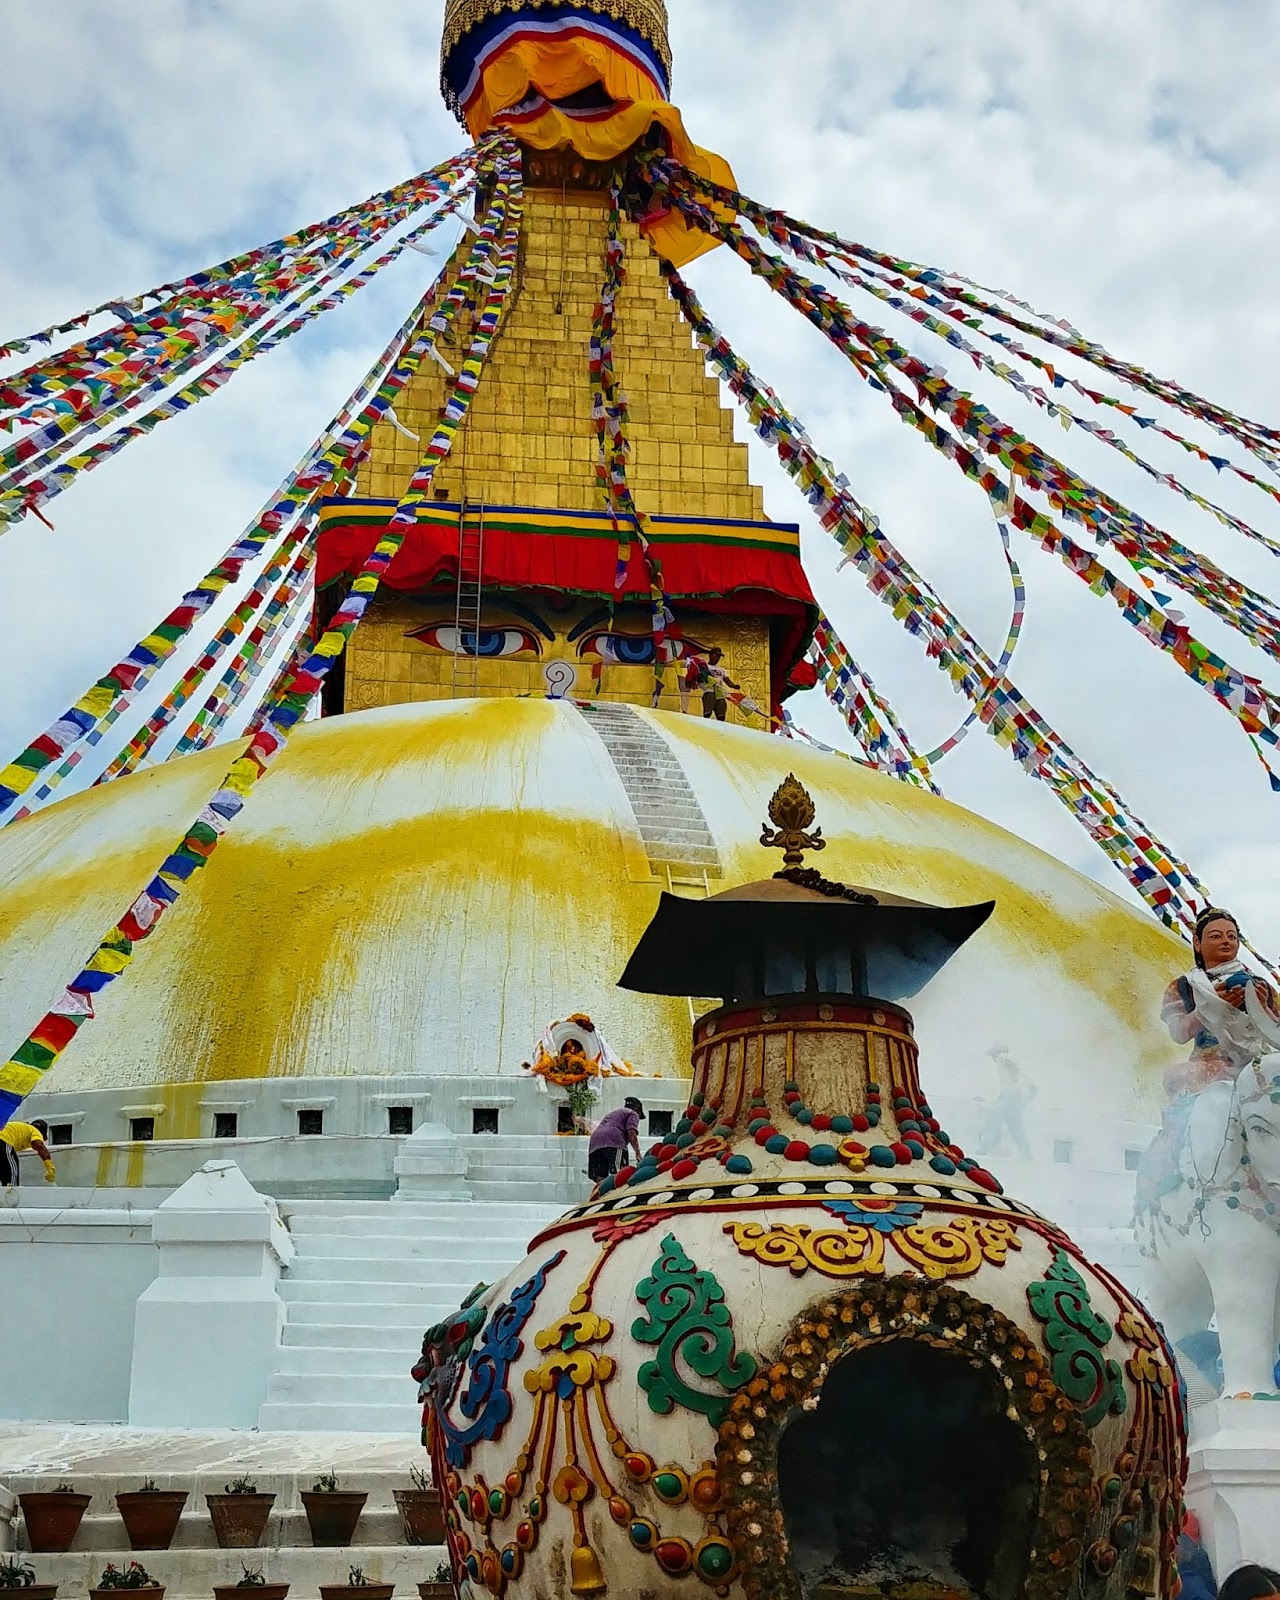
First we went to the infamous Shree Pashupatinath Temple. This is the giant, iconic and recognizable Bhuddist Temple in Nepal. Back in 2016 when the earthquake hit, the top of the temple completely crumbled. They have since rebuilt it and the site looks as if there never was an earthquake. 

We circled around the temple taking a million pictures before heading to our next stop, Swayambhunath, also known as The Monkey Temple. This is where the internet sometimes gets confused. This is because the sites look very similar however the monkey temple is much, much smaller and has more architectural features. Many mistake Shee Pashupatinath for Swayambunath and vice versa. In fact, I myself thought that was the case. But names aren’t important, all that matters is the beauty that comes from these sites. It is indescribable. I had seen pictures of both, and for years I dreamed about it, but nothing compares to the real thing. The smell of incense in the air, prayers being offered, and despite the crowds, it is a peaceful place and completely worth the crazy drive.

A question I’m sure some are wondering, as I wondered myself, how is Nepal doing since the earthquake? Well, they are healing, but there is still a lot to be done. I’m sure I will see in the mountain villages later, as I have heard the status it is much worse , but in Kathmandu, the buildings that took the most damage were old, brick, and poorly structured. most of the city still stands. However, there are signs of damage and hurt everywhere still. as we drove around, there were lots that were still a pile of rubble that have yet to be rebuilt. Some sites were still in the rebuild process, many sidewalks and roads are still damaged, and there is a huge homeless problem. as we drove buy these beautiful temples, on the outside were dozens and dozens of people seeking sanctuary and refuge begging for rupees. It is a hard, sad, and humbling site to see, especially as I am there for leisure. The one thing to avoid is feeling guilty. Nepal thrives on tourism. By traveling to this country to visit, and showing interest in the historic sites, paying entry fees, paying permit fees for climbing, and buying local fare, that money helps their economy get back on track. I remember when the quake first happened, I wanted to jump on the first plane out here to help, but it wasn’t even aloud. Planes were grounded for days and no one was allowed into the country. Now, they appreciate the help, but they also just appreciate people coming to visit and taking an interest in their home country. Nepali pride is evident everywhere and as much as I enjoyed the temples in town, I cannot wait to see the mountains I came here for.

A Day in Singapore

Report from 5/28/18

Most people would freak at a 22 hour layover in a foreign country where leaving the airport requires you to obtain a visa. However, I had a blast!

Changi Airport is the BEST airport in the world, and I’m not just saying that. It has actually won “Best Airport in the World” for almost a decade straight! I arrived around 9pm Sunday night. Changi has transit hotels and lounges in every terminal so my first priority was finding one of the hotels and passing out. They charge by the hour to try to accommodate various flight schedules. I paid for 9 hours which ran be approximately $130USD. A little steeper than I would normally pay for a hotel but it was super nice! The only downside is I could not figure out how to adjust their thermostat so I kept waking up in a sweat. Singapore is so unbelievably humid and I sleep cold.

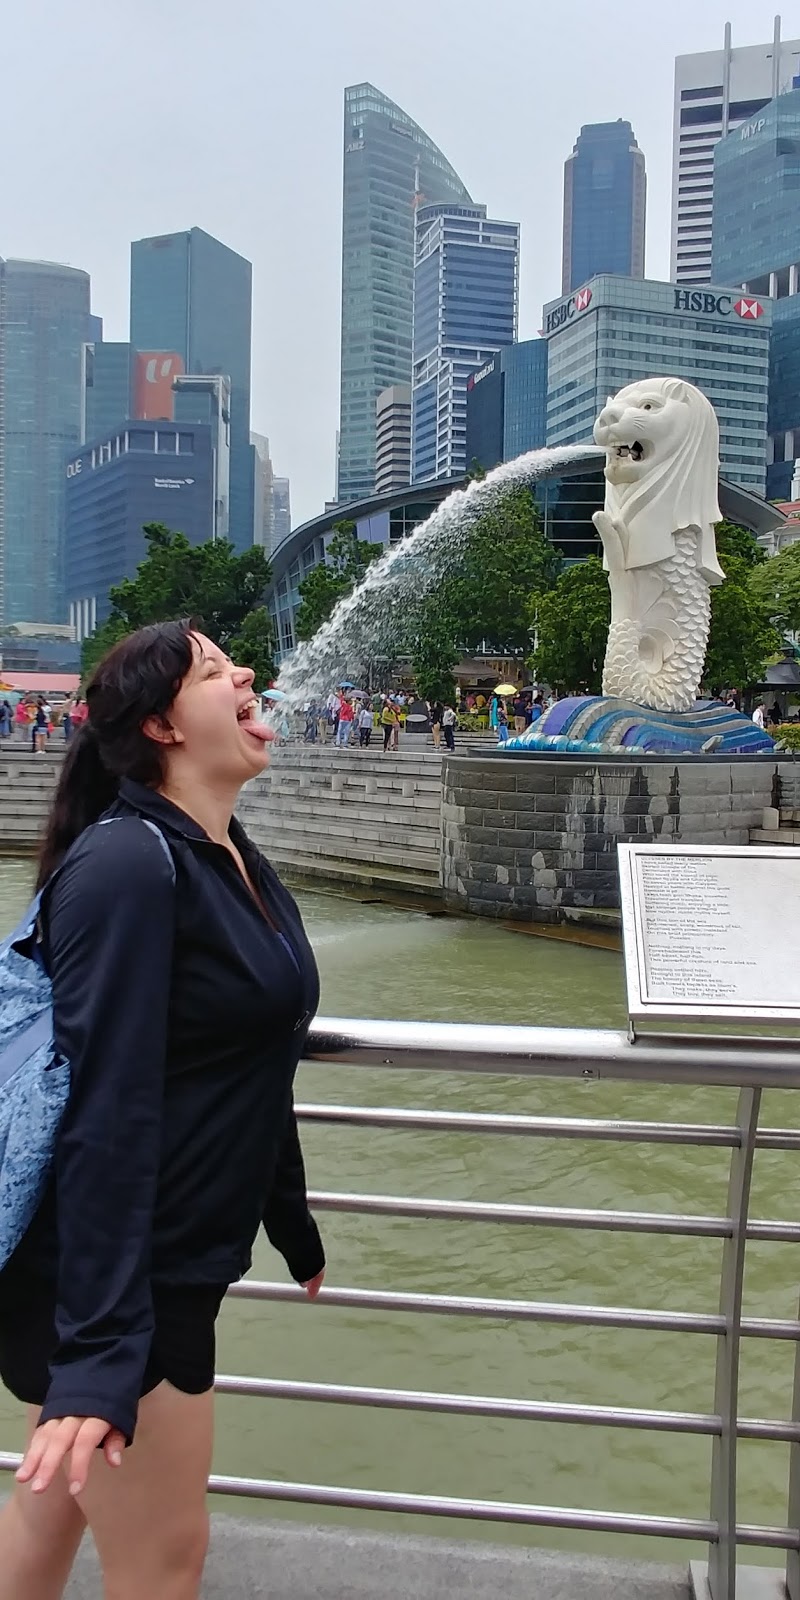
Anyways, woke up the next morning ready to explore. I had read about a free Singapore tour hosted by the airport that can be done without needing a visa so that was priority number 1. I found the registration booth, signed up and went and found some breakfast. The tour began at Merlion park where you get beautiful city views and of course get to take a picture with the infamous Merlion statue! We then drove through china town and little India and stopped in Maylay town where we got to see the beautiful mosque, wall art, and smell the delights of Ramadan festival foods. The night tours get to stop in the treetops garden, unfortunately the day tour does not, but I got to see a glimpse of it as we drove by.

Once I got back to the airport it was time for my own tour. My goal was to find and hit every garden. I hit all 3 of the main terminals but my all time favorite was the butterfly garden in terminal 3. I have never seen so many butterflies in my life!!

Singapore is known for being high end. People there fancy the “nice things” so Changi Airport is like a massive mall and all the shops are high end designers. But I’m not nor have I ever been interested in that kind of shopping. I found Singapore shops because I was in search of culture. Batik is the traditional garb of Singapore. Batik is the art of creating beautiful and intricate patterns in rich dyes. The Singapore Airlines flight attendants wear Batik as their uniform and I thought they were absolutely gorgeous and I wanted one. I literally had to buy the biggest size they had because they are sized for tiny Asian bodies, not broad shouldered, tall Americans. At least it fits!

After a long day of exploring I bid farewell to Singapore. My return layover will be much shorter and won’t allow as much time to explore. I arrived in Kathmandu last night to some immediate culture shock as it is a vastly different corner of the world. The city is loud, dirty, and traffic is absolute nonsensical chaos. I knew all this going in but it doesn’t matter how much prep and research you put into it, nothing will really prepare you for your first time alone in a 3rd world country. After a spike in anxiety, I got some sleep and am ready to face it head on because underneath all that are smells of incense, curry, and a culture I have loved and adored for years without ever even being here. Today we head to the main Himalayan Glacier Office and relax in town before we head to Lukla tomorrow. I am excited for what awaits me.

7 Tips for Expedition Preparation

No matter what your adventure, planning is important. However, when you are planning an expedition, it becomes critical! You have an ever changing to-do list, physical training, as well as other logistics to keep in mind.

Here are some tips you need to know to make sure you are checking off all the important preparation tasks for a big trip!

Step 1: (The Obvious) Book your trip!

Once you decide what you would like to do, book your trip before doing ANYTHING else, including booking your flight. Depending on your expedition will depend on availability of dates as well as available guide companies to book through. DO NOT just book the first company you look at. compare prices, compare dates, compare reviews, compare summit success rates, and most importantly, compare safety standards for crew and clientele. Some have the money and are willing to pay for the best of the best, which is great! However, others (including myself) have to think about budget and getting the best possible experience for the best available price.

For me personally, my first priority was climbing local. Not only does it support their local economy to climb local when you can, but you get a much more in-depth cultural experience learning about the country and culture! My second priority was safety, and third was price. These are all things to keep in mind when choosing who to book your expedition with. Below are just a couple of my personal favorites:

  • Third Rock Adventures: Local Nepali guide company recommended by Lonely Planet, Trip Advisor, Travel Channel, New York Times, and more. Local guides fluent in English, great safety standards, cheaper than western guide companies, and all the money you spend supports the struggling Nepali economy. 
  • Eco-Africa Climbing: The best local agency in Tanzania. They pride themselves on ethical porter treatment, ensuring they all make a living wage (even before tips). They will teach you Swahili and ensure a safe climb up Kilimanjaro! Safaris are also available.
  • Summit Climb: Founded by famous climber and guide Dan Mazur. Variety of charity treks available, experienced guides, most affordable Everest climbing from a western company, wide variety of larger expeditions and climbs, well organized.

Step 2: Book your flight!

Once you book your trip, wait until you make your first payment and receive a confirmation email with all needed info regarding your expedition before booking your flight. Everyone always talks about how there are key windows to book the cheapest flight. This is more true for nationwide flights more-so than international flights. International flights tend to book much more quickly and have their ideal price window between 4-6 months in advance depending on the time of year. The trick is to start monitoring and follow flight prices as soon as you book your trip, and once everything is confirmed, then book your flight. There are now a variety of flight apps to help track prices and some work better than others. Google Flights is always a good start, however I found Hopper and Skyscanner found much cheaper flights. 

Step 3: Training Schedule

Planning out a training schedule for workouts is critical. It is important to map out when and how you are going to workout and train. This will be ever changing however. Life happens. You may find you were more out of shape than you thought and it may take longer to re-establish a base line of fitness, or you may get sick and be out of commission for a week or two, or maybe you are just so exhausted from work you aren’t getting to train as much as you would like. Whatever happens, set and establish fitness goals at the beginning and just try to get as close to them as possible. You may get lucky and be able to stay on track, but if not, you have a guideline to help get you there.

Step 4: To-Do lists everywhere!

Start simple, and add things as needed. When you first book your trip there are a few essential things that need to go on your list, but other random things may come up as you get closer. here are some things to make sure get done:

  • Order new passport (if needed)
  • Purchase Travel Insurance
  • Purchase Emergency Evacuation insurance
  • Ensure your health insurance is current
  • Set a doctor appointment to get a physical, (most guide companies require a doctor to clear you for a major expedition and will require a form to be filled out by your doctor)
  • Have your doctor write you a prescription for Diamox (for altitude sickness) and antibiotics (for emergencies)
  • Receive any immunizations needed for the country you are traveling to.
  • Shop for any needed supplies or equipment
  • Call bank before you leave to let them know you will be out of the country

Step 5: Faux Pack

At some point you will need to make sure all your gear fits in your duffel right?  This is also a good opportunity to double check your equipment list to make sure you have everything you need. It is recommended to do a packing trial about a month or so before you leave. If you are missing gear, it is good to give yourself the time to shop for it. Another good reason for this is weight limits. Not only do airlines have weight limits for luggage but porters do too. There are laws in place to protect porters safety and health to ensure they are not carrying too much weight. Many well established guide companies respect these laws as well as their porters and are strict about weight limits. This can get tricky when you are hauling a bunch of heavy climbing gear. When you pack, take only what you need. Don’t bring a bunch of extras, and pick one outfit to hike/climb in with various layers, and one outfit to lounge in. There are ways to launder clothes at high altitude if you really need to, but most just deal with the stink!

Step 6: (the most important) Mental Preparation

Mind will win over body every time. If you aren’t confident in yourself or your abilities, don’t expect success when you arrive at your destination. Your mental health is going to be more important than your physical preparedness. Preparing your mind will look different for every person depending on where you are at to begin with. Some seek out therapy to work through fears and doubts, however some can simply meditate on their goals. There are a variety of things you can do to mentally prepare yourself but this one I can’t give advice on specifically because it is something where you will need to just decide what works best for you. 

Step 7: Farewell!
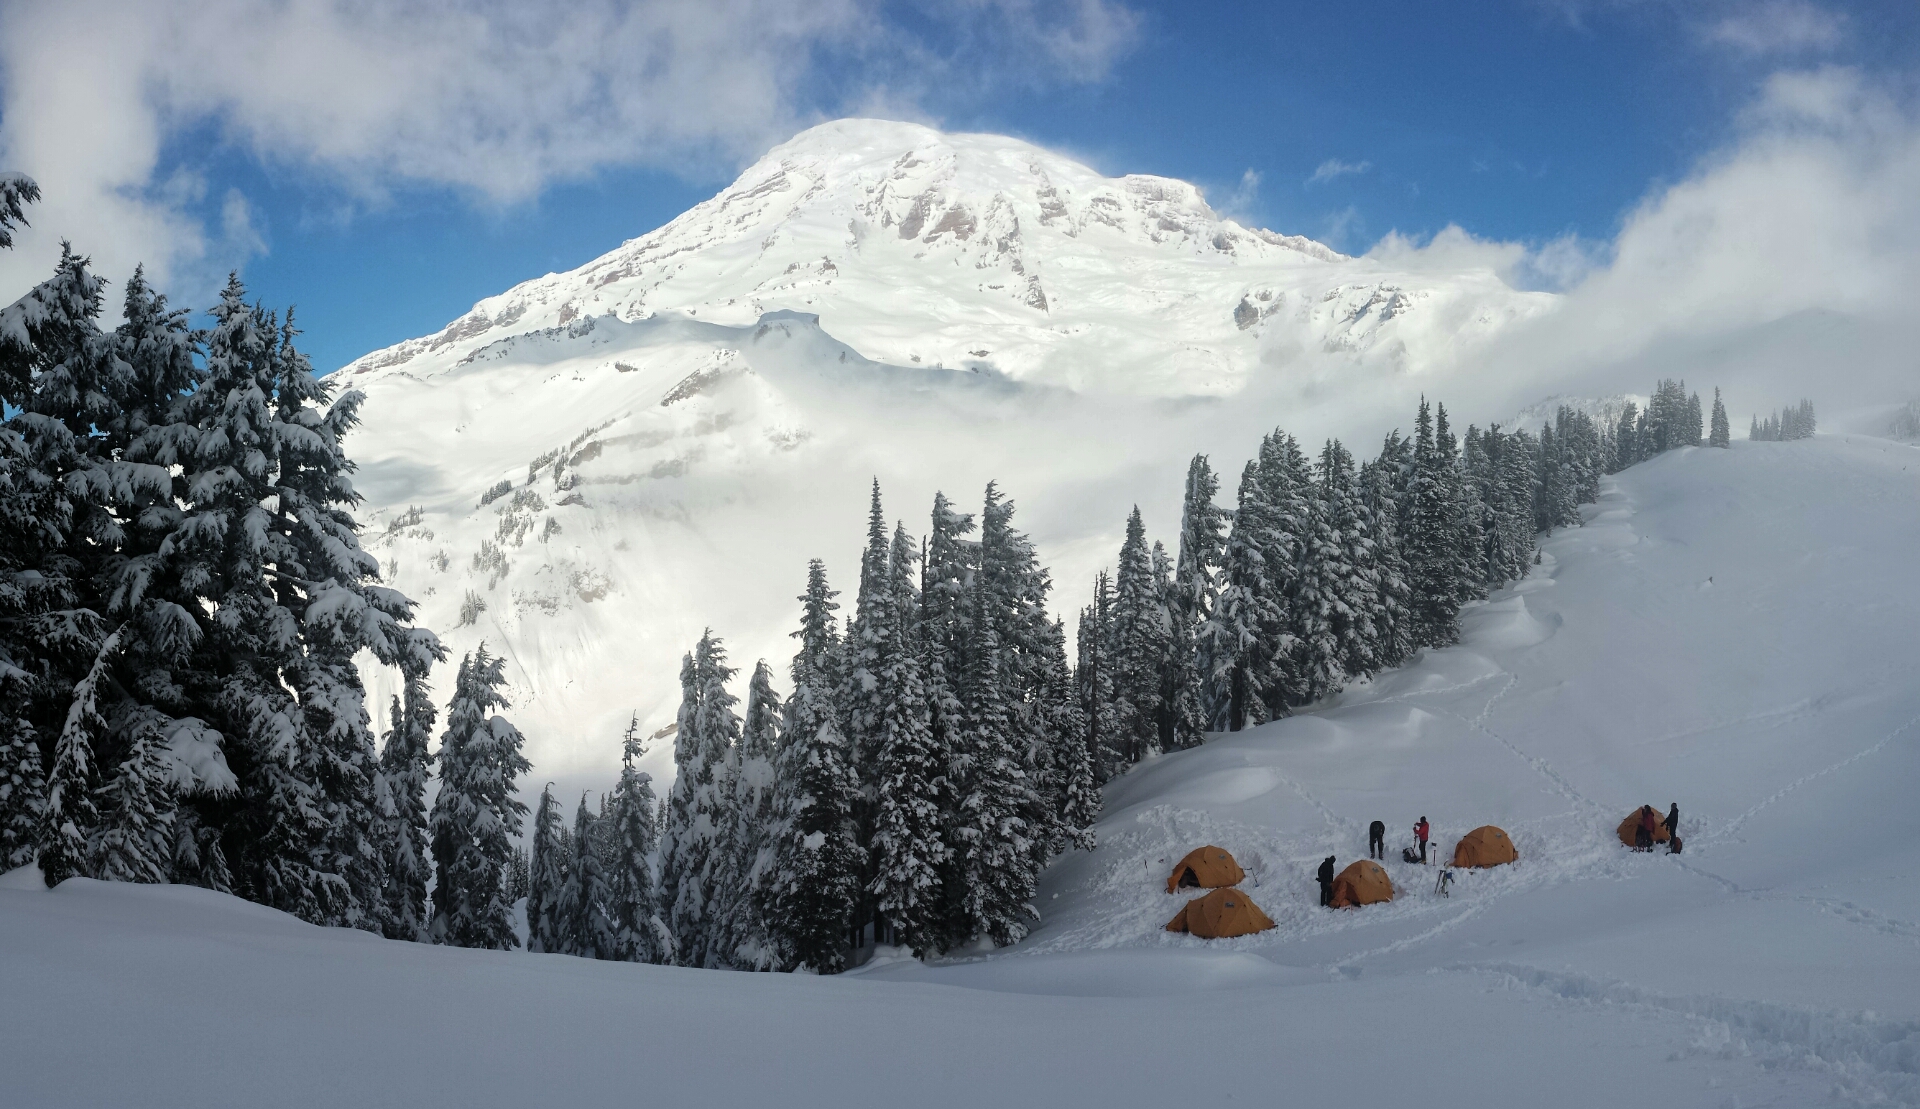
This is another thing where you decide what you would like to do! Some want a party, some love to spend a final evening with family and friends, others maybe do something more interpersonal. Whatever you choose, it is important to surround yourself with those who support you! Cheers and Good Luck!

TRIP REPORT: Mount Mitchell (6,684′) – North Carolina’s High Point

Report from 11/19/17

Adventure and a wedding!

First off, a public congratulations to my sister Roxanne and her new hubby Joe on their wedding! I love you and I’m so proud of you!!!

Secondly, I will be honest, this is a short trip report. But you will soon understand why.

Rewind to about 2 days before I left for North Carolina. I was texting my sister and dad back and forth to figure out what exactly the plan was for the weekend. My sister and I had talked about going climbing together for her bachelorette party, and I was still waiting to get a confirmation from someone. I was due to land in North Carolina late Thursday night and would be in town all day Friday and Saturday for the wedding. Once I found out that we would have time to climb Friday morning and the rest of the day I would be free to do my own thing, I decided to start looking up things to do not having a clue of what was out there besides lakes, trees, trees, and more trees. I knew my sister lived fairly close to the Appalachians, so I decided to look up hikes in the area. I came to find out that North Carolina’s high point, Mount Mitchell, was only about a 2 1/2 drive from my hotel! So that is exactly what I did…

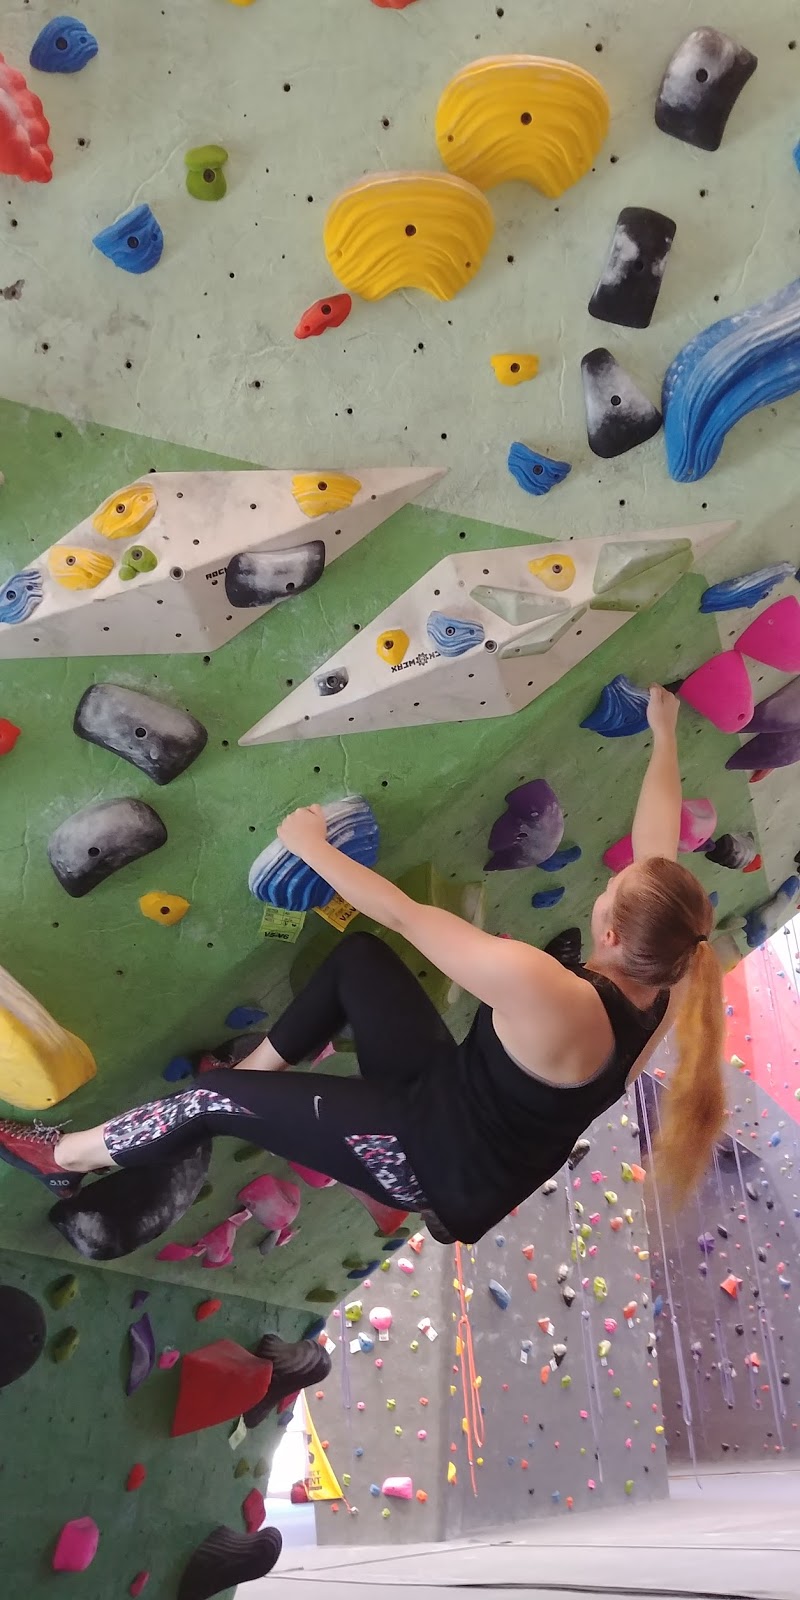
I took my little sister climbing,

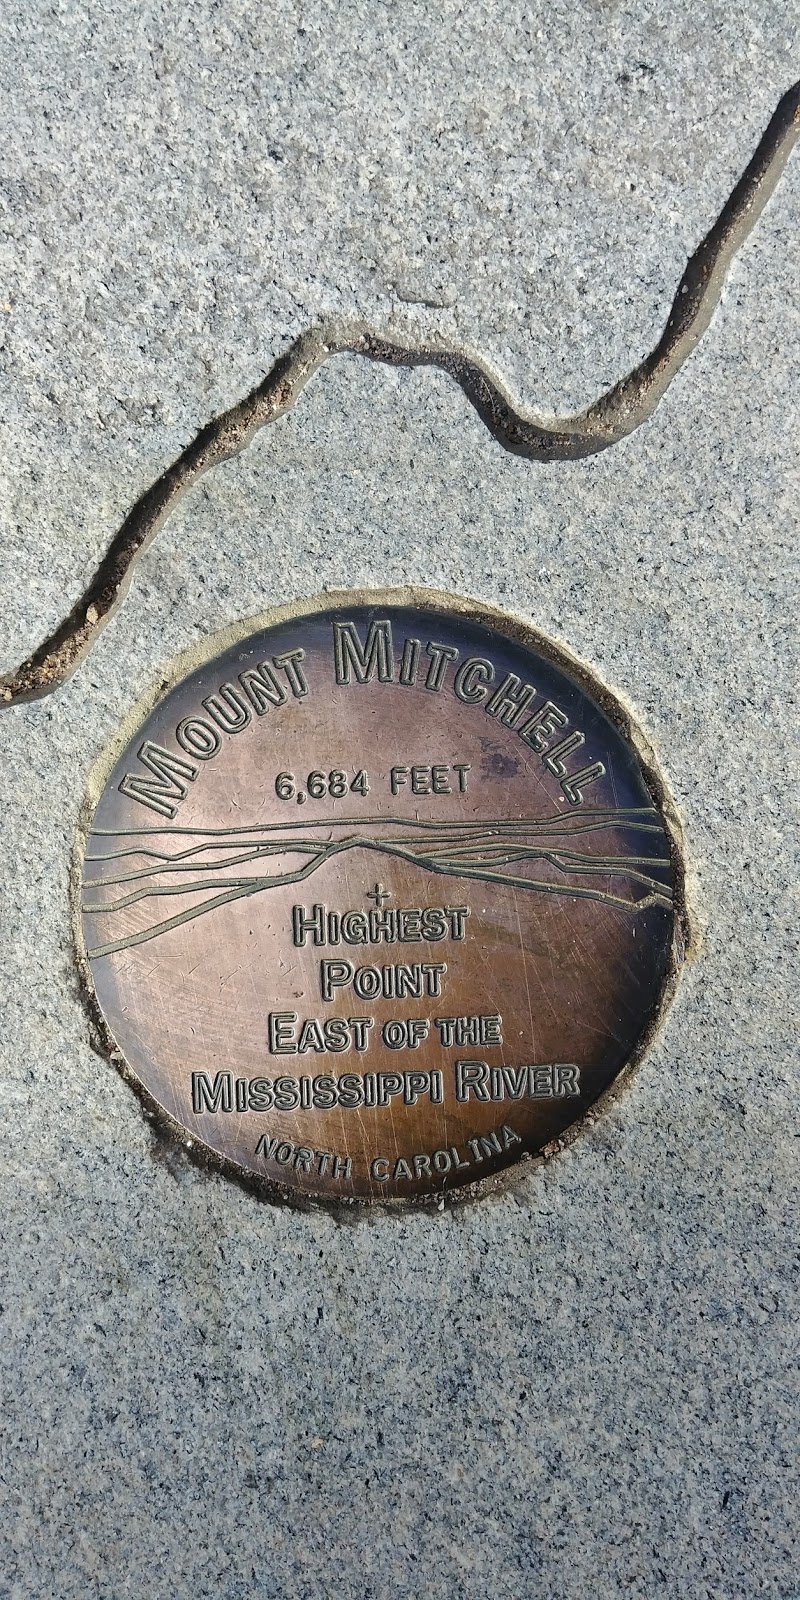
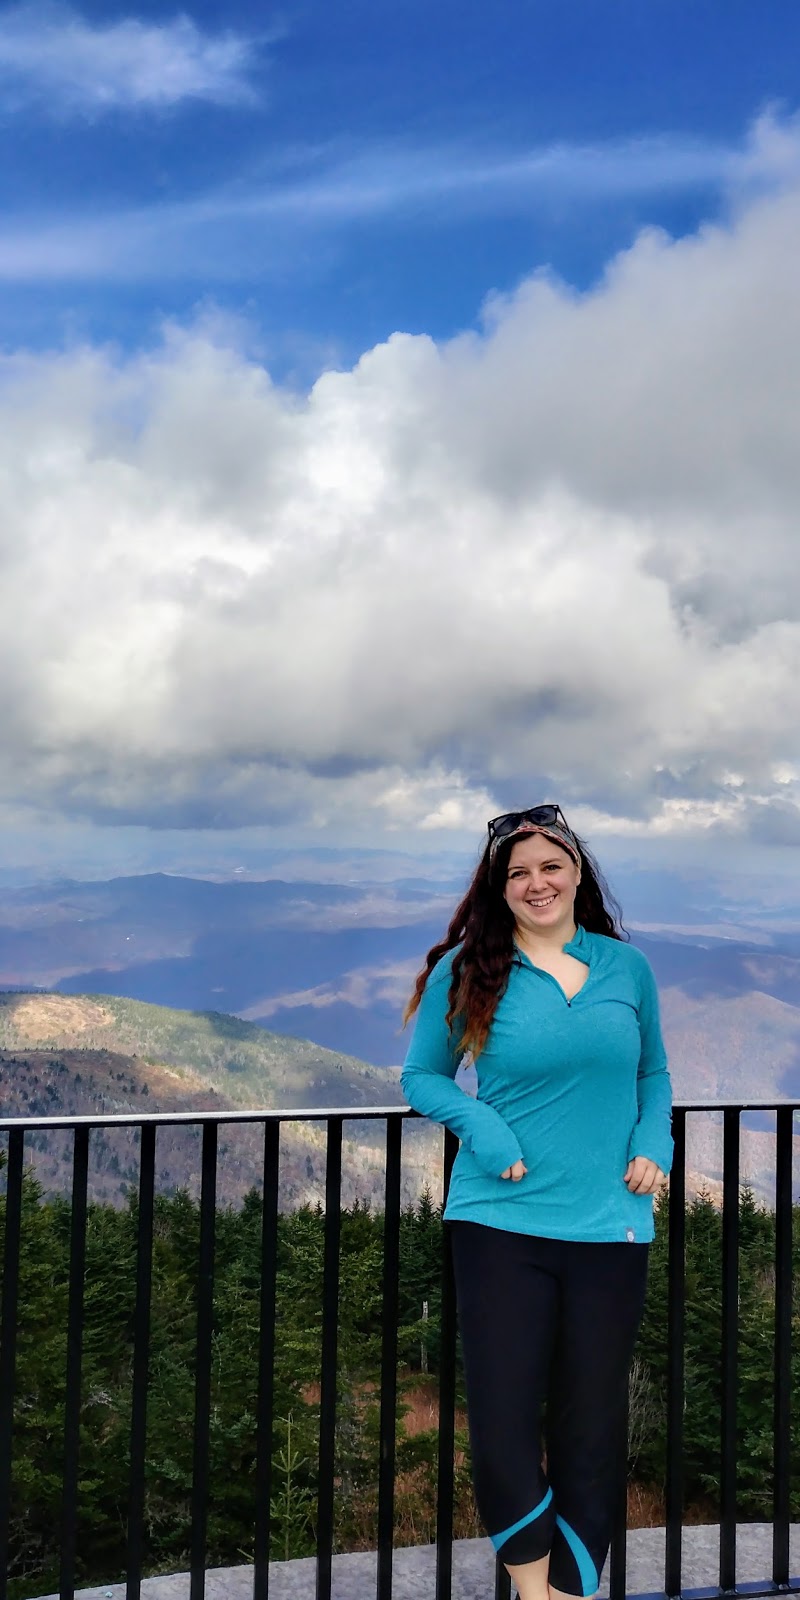
Then, I drove out to Mount Mitchell, where I “hiked” the .25mi paved trail to the top; a mere 6,684’…

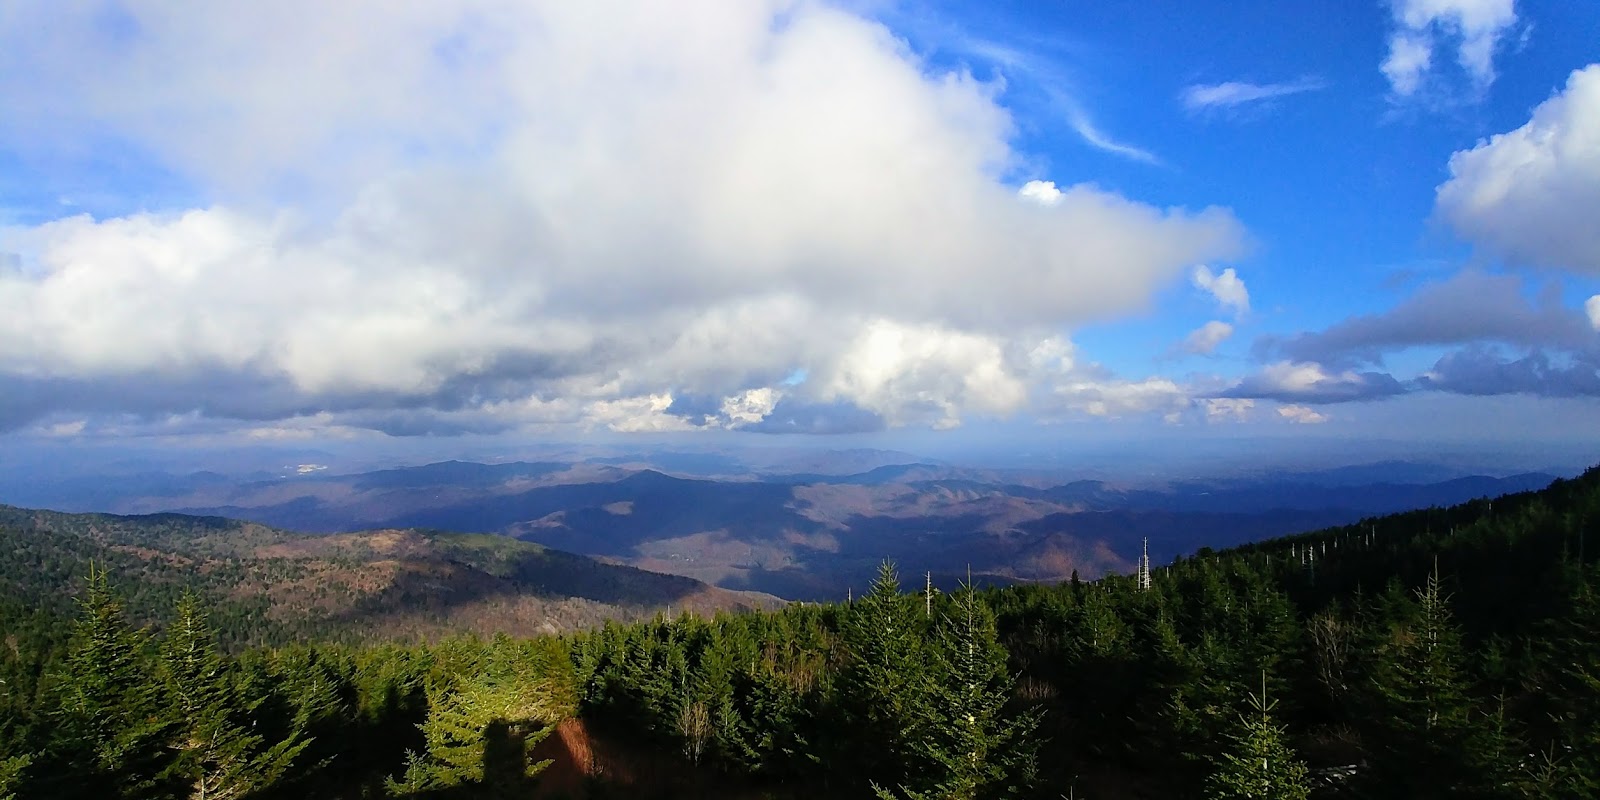
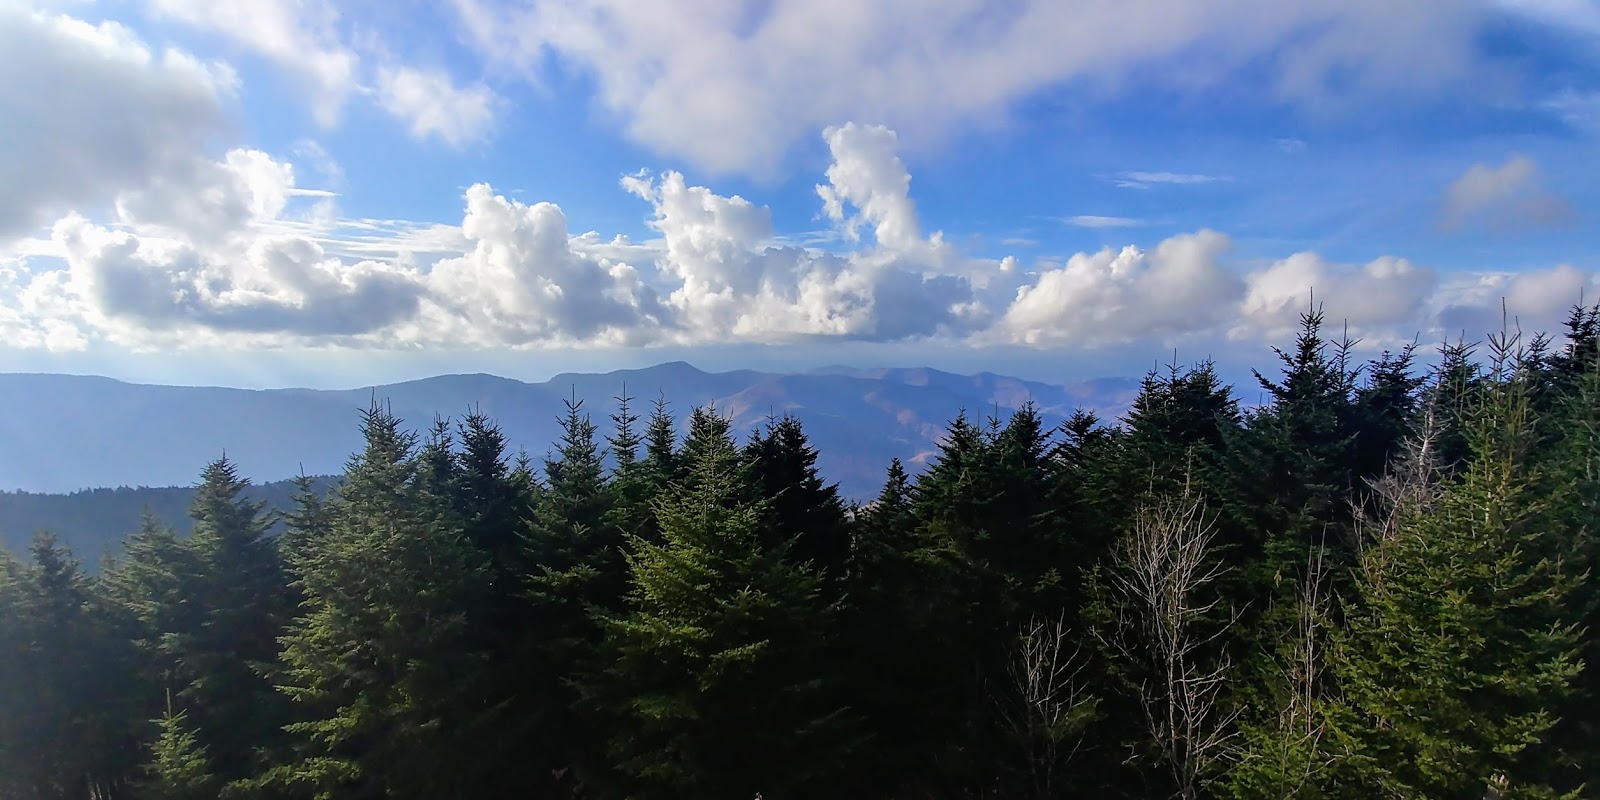
Was I dissapointed considering the fact that I live at 5,000′, and I have 11,000’+ peaks at my doorstep? Not Exactly. The views were beautiful, and the Autumn drive was incredibly colorful with the mass amounts of trees. It was a cool peak to check off my list, and the perfect way for someone like me to spend my short weekend in town!

North Carolina View (East)
Tennessee View (West)

As you can imagine, Saturday was wedding day! I wish I could’ve stayed longer to visit my sister, but I am glad that I was at least able to make it for the wedding!

TRIP REPORT: Cardiff Peak, UT (10,277′) – Snow Climb

Report from 4/5/17

Spring is FINALLY here, and I am on Spring Break!

I couldn’t wait to get out and do some climbing. I had been hiking pretty regularly at lower elevations since things had warmed up, but I had been dying to hike and climb in the snow. bad weather nearly every weekend made it difficult with student teaching, so after a nice cold front came through and stiffened up all the snow, I figured I had to get out on the hill while I had the chance!

My first choice for my first big training climb of the season was Mount Superior at 11,132′ but as you will read, that did not go according to plan, which happens. Superior is known in Utah for having the most avalanche activity so winter ascents can only really be attempted in prime conditions.

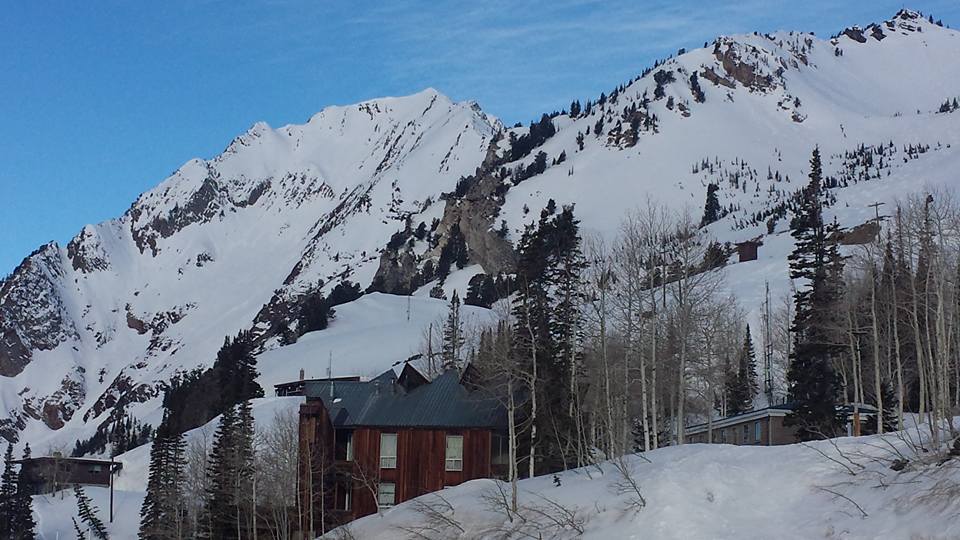
Superior overlooks both Alta and Snowbird Ski Resorts from the other side of Little Cottonwood Canyon. I have climbed it during summer months, the East ridge from Cardiff pass is rated a class 2. Starting from Alta, it is about a 5 1/2 mile hike round trip with an elevation gain of around 2500ft.

My original plan was to get up at 6:30, and start hiking by 7:30 in the morning. …I did not sleep well last night so by the time my alarms went off, I did not want to get up…. I woke up at around 8, checked the temperature up the canyon to find temperatures were still below freezing, so I left and started hiking just before 9am. Right off the bat, the snow was icy and firm. I kept up what I like to call “dry speed” which is the speed in which I can hike on dry dirt trail, so I compare my speed to my past summer climbs.

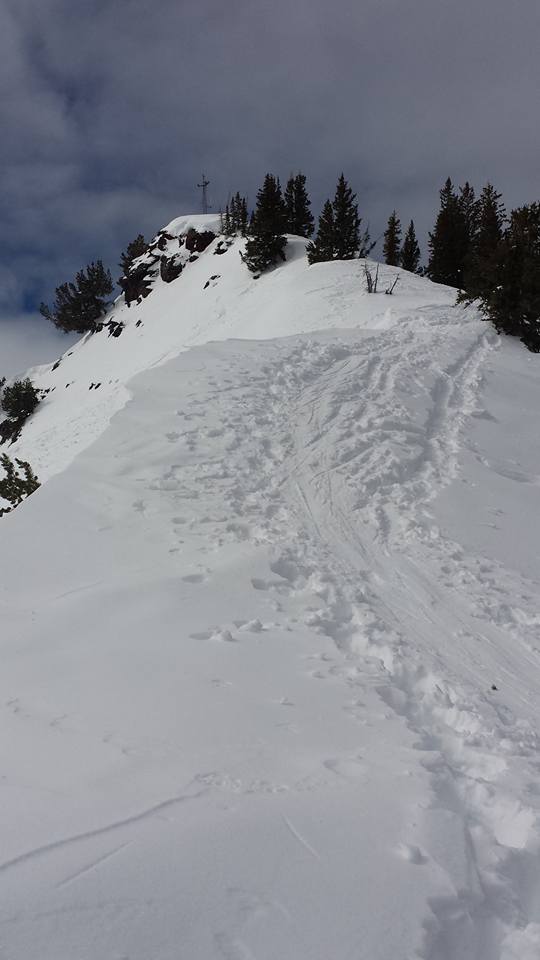
As I got to Cardiff pass and started up the ridge, the snow was INCREDIBLY soft. I would step and sink into thigh deep powder and my climbing speed basically came to a crawl. It took me 45 minutes to climb 250 vertical feet…. it was frustrating. Every step forward was a step backward. As I came up near the summit of Cardiff Peak, I took one look at Superior and sighed. I had a mile left…. a very long mile. Looking along the ridge, it seemed to be the same powdery deep frustrating snow I had just been trudging through and I would take me an eternity. The temperature was rising quickly, I was running out of time as well before I needed to be home, so I turned off the ridge trail to climb the final 20 feet to the summit of Cardiff instead. Superior or bust? Definitely a bust… but not a complete loss.

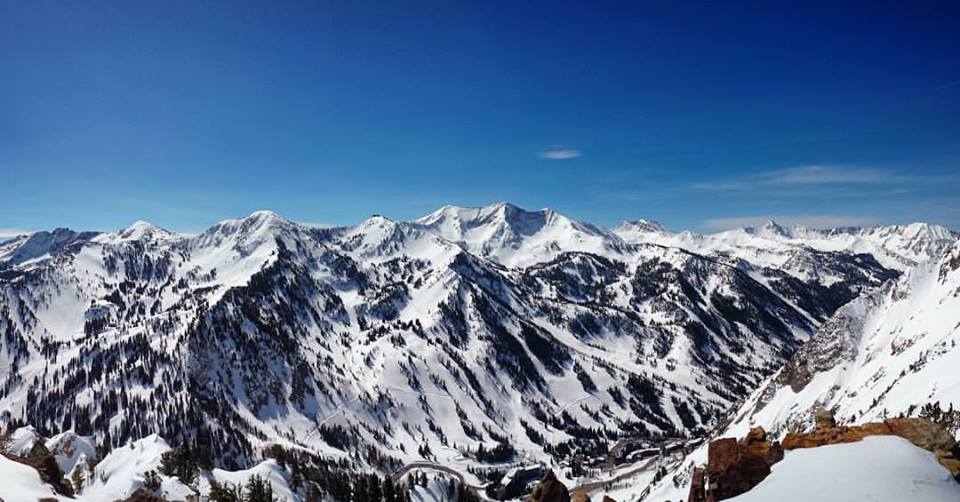
I still got a great “first climb of the season” workout, and great pictures of the amazing views from Cardiff.

Plenty more training climbs to come this Spring. ‘Til next time!

Eating Disorder Awareness: My Story

National Eating Disorder Awareness week is always the last week in Febuary and has become an important part of my life each year. Several years ago as part of my recovery, I decided to hold a 5K event to raise money for the National Eating Disorder Association (NEDA) in an attempt to spread awareness of the deadliest mental illness. I nearly lost my life to my eating disorder and truly have the desire to shed a light of hope on mental disorders.

A few months ago I received an email from a representative at Sovereign Health who caught a glimpse of my story and asked if they could interview me for an article. I agreed simply to share my story, not knowing that I would be officially honored during NEDAwareness week this year! I feel so touched and blessed to be able to have my story expand to other reaches of the country (and the world). The article was published and I still feel weird seeing my picture and story published on a nationally recognized site. However the responses so far have been overwhelming. I feel an outpouring of love and support from friends, family, and followers.

So I ask this to you to take a moment for Eating Disroder Awareness: 

First, read the interview. My story covers details of a dark past and how I lost sight of the dreams I had as a child. The interview, titled; “Recovery Next Door: Learning to live in recovery from an eating disorder without shame” expands on my recovery process, which is an important key for anyone struggling with a mental illness. 

Second, take a moment to think of someone in your own life who may be struggling. Maybe it’s your sibling, mother, dear friend, or even yourself. Take a second to send them a message, or give them a call, just to say hello. A single gesture to show you care can go a long way to someone who might feel completely alone. 

Lastly, participate in NEDAwareness week which is the last week in Febuary each year! Use the hashtag #NEDAwareness and use their shareable graphics and images on social media. You can share the article, you can share this page, you can share information on eating disorders found on the NEDA website. There are also local events in every state all week long. Just search their sites event page.

* * *

My message is HOPE. It has always been hope. Hope for the future, hope for recovery, hope for happiness, hope for triumph. I quote one of my favorite movies, A Knights Tale, when I say: “Hope guides me. It’s what get’s me through the day, and especially the night.” If this rings true for you, I promise you, it always rings true for me. Now that I consider myself recovered, my hope shifts towards my dreams of the Seven Summits. My hope shines on my current day-to-day as I complete my degree, and hope that I can find time and energy to train once this enormous assignment is over. One day at a time, let hope be your guide.

Left: during my ED, Right: on the summit of Kala Patthar, Nepal 18,519′

GOALS: Seven Summits in Seven Years (and Beyond!)

Report from 12/27/16

UPDATED 6/5/18

In the long term, a plan needed to be formulated for my biggest and most ambitious of goals: The Seven Summits.

When I decided I wanted to be teach high school, I knew the pay wouldn’t be great, but I would have summers off to go play. However, climbing season in Nepal is not June to August… it is right in the middle of school testing season. Whether or not I take a year off or find a long term sub when the time comes, who knows… I’ll cross that bridge when I get to it. However, the rest of the list I can knock out during summers or Christmas break which works well in my favor! When I start hitting the big boys, I’m going to NEED to figure out some logistics; yet another bridge to cross in due time.

SO, without further ado, I give you my climbing timeline for completing The Seven Summits in the next Seven years!

Year 0- COMPLETE!  2017: I am calling this year 0 because my summer consisted of job searching for teaching positions and I spent a majority of the year being beyond broke. Realistic planning for adventures could not be finalized until I found a job. Since I now have a teaching position: this year’s goal is complete!

Year 1- COMPLETE! June 2018: Everest Base Camp and Kala Patthar (18,519 ft/ 5,644.5 m) Because I was itching so badly to Everest up close and in person, and while I’m there!

Year 2- July 2019: FIRST SEVEN SUMMIT! Kilimanjaro, Africa (19,341’/5,895 m) I am booked with Eco-Africa Climbing on a Women Only Climb! #womenclimbkili!

Year 3- July 2020: Plans to move during summer break 2020 are in the works. That being said, there is no money for international climbing this year, but there is wiggle room for a trip to Washington to once again attempt Mount Rainier! (14,411’/4,392m)

Year 4- July 2021: Mount Elbrus, Europe (18,510’/5,642 m) I plan to go to this beautiful Russian volcano.

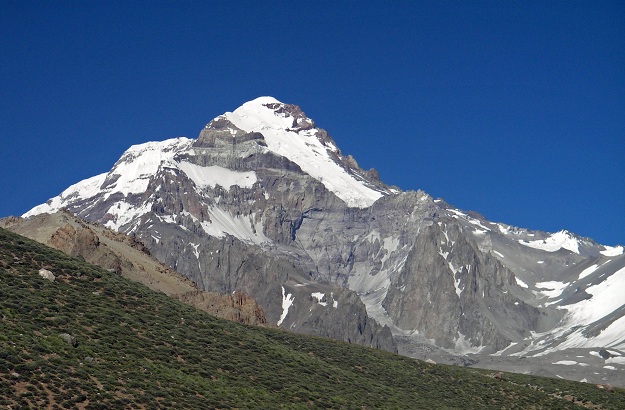
December 2021: Aconcagua, South America (22,841’/6,961 m) I actually thought about climbing this one first because I am so anxious and impatient to get climbing. But after looking at it from a realistic perspective, we are going to try to buy our first house in the first year or two of me teaching. My husband should graduate from college by 2020 and make the financial load significantly easier, so putting it off until later was the smarter thing to do.

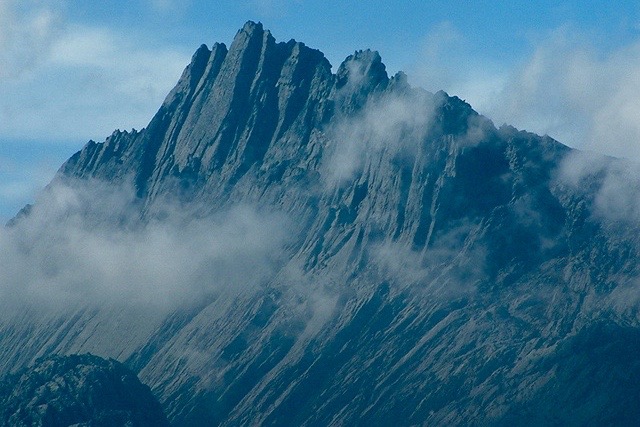
Year 5– December 2022: Mount Kosciuszko, Australia (7,310’/2,228 m) For those who don’t know, there are two main lists for the Seven Summits, the Bass List and the Messner List which each have a different summit for the Australian Continent. I decided on doing both peak but am starting with the Bass List for a few reasons… One, being from Utah, and growing up skiing Snowbird, then working at Snowbird, and meeting Dick Bass personally, I feel a special connection to the Bass list. Two, Puncak Jaya, also known as Carstensz Pyramid, is extremely expensive and difficult to get to as it’s deep in the Filipino jungle and in a war zone. And three, my husband and I have always wanted to go to New Zealand, so we are planning a vacation for our 10 year anniversary down south with a quick pit stop to Australia to take a stroll up the easiest of the Seven Summits and visit a koala sanctuary!

Year 6- June/July 2023: Denali, North America (20,322’/6,194 m) I am very excited for this one. Alaska is beautiful and if it wasn’t so freaking expensive, I would probably climb this one earlier too.

Year 7- April-June 2024: Mount Everest, Asia (29,029’/8,848 m) 7 years of prep for the tallest mountain on earth. I plan to ascend the North Col route from Tibet. There are pros and cons to each side but the crowds are smaller on the Tibet side as permits are limited, which also makes them more expensive… The ONLY thing harder than climbing Everest, is funding Everest.

December 2024: Vinson Massif , Antarctica (16,077’/4,900 m) I saved what I deem to be the most epic for last. (as well as the most expensive… yes more expensive than Everest) It may not be nearly as high as some of the others, but it has an incredible amount of character. Deep in the frozen wasteland of Antarctica, this summit has the lowest amount of resources available to it. There are no cities in Antarctica. There is a camp, only accessible by a 4 hour plane ride from Chile. You have to drag all your gear around by sled, and it is a very cold and lonely place. I am just glad the sun is up for 24 hours down there during that time of year. I can’t imagine how dark and desolate it would be. (those poor penguins). A successful summit bid by this timeline would mean I complete the Bass Seven Summits just before my 35th birthday!

BONUS: The 8th Seven Summit for Year 8– June 2025: Puncak Jaya, also known as Carstensz Pyramid (16,024 ft/4,884m) This will complete Messner List and I will be part of an Elite crowd that has done both lists. This is the most technical of all the Seven Summits, therefore completion of the Messner list is more rare.

BONUS: Explorer’s Grand Slam: The Geographic North and South Poles! The more I work towards my goals, the more I wonder how far I can actually go! After following Colin O’Brady as he recently crossed Antartica solo and unaided, I have been seriously interested in exploring the poles; and I don’t just plan to fly to the pole, I want to complete what is known as “The Last Degree”: A 60 naudical mile ski trek from the 89th degree to the pole hauling a sled full of gear behind me!

As much as I would like to, I can’t guarantee this list’s completion in 7 years, and it will probably be adjusted as time goes on. There are simply too many factors out of my control; politics in foreign countries, unforeseen budget factors, weather, etc. But what I can guarantee is that I will personally strive for each one to the best of my ability until they are complete no matter what it takes.

People ask me all the time, “Why do you want to climb Everest?” “What is the point in putting yourself through physical anguish to reach the top?” In short reply it’s easier to just say “I don’t know” or “it’s hard to explain”. But the reality is I don’t simply have one reason for why I climb, I have several. I climb because I feel a very real, very spiritual connection in the mountains. My sister passed away when I was a kid, and when I summited my first 14er at the age of 13, I dedicated the climb to my baby sister, and ever since then those high peaks make me feel closer to her. After years of suffering through crippling depression and a dangerous eating disorder, completing something this huge is monumental to me. It’s simply proving to myself that I can do anything I set my mind to. I do it for me, and I hope to set an example for others like me. That’s why I write this silly blog. My biggest goal of all, is to simply share my story in hopes that maybe someone else who is suffering, can look inside of themselves and realize that they don’t have to live in despair; they can do anything they set their mind to. It doesn’t have to be climbing, it could be something as simple as learning an instrument they have always wanted to learn, travel to a corner of the world they have always longed to see, or following a career passion they never dreamed was possible. As soon as you are okay with yourself and who you are, and you no longer care what society tells you what you should be or what your parents think you should be, and you start living your life for yourself, then you will be truly happy. You will be able to Conquer Yourself.

Keep up on my climbs! Click here to check out my current successful summit list!

The BEST Way to Combat Altitude Sickness

Are you fortunate enough to live near the mountains?

GOOD. You are going to need the altitude.

I’ll get right to the point. The BEST way to combat altitude sickness is acclimatization. No matter what the elevation of your nearest peaks are, taking advantage of high elevation before embarking on an expedition can be crucial to avoiding Acute Mountain Sickness during your trip. If you are within a short drive distance from anything at least 2-3,000 vertical feet from where you live, pay attention, this is for you! The goal in training is to get as high as you can for as long as you can to get a head start on acclimatizing for your climb.

STEP 1: Hang Out.

I would like to hope and think that if you are planning an expedition, or even a simple trek to Everest Base Camp, that you have SOME experience hiking at elevation. This step may be obsolete. But if it’s been a while, or you have been living at sea level, simply drive up the canyon and get higher. DO NOT go higher than 8,000 feet above where you live when you first start. (this means if your town is at 2,000 feet above sea level, don’t go above 10,000 feet). Ascending too fast can be dangerous if your body is not used to the altitude. Take your time. slowly increase the altitude, drink LOTS of water, and enjoy the view.

STEP 2: Work Out.

After taking a few trips up into the mountains, it is time to start working out at higher elevations. Altitude Sickness can start as low as 8,000 feet above sea level. If you live in a low sea level state like California, I do not recommend a trip to the High Sierras as your first hike. Start lower. you want to start working out no more than 3,000 feet above where you live. You can gradually increase the elevation as your body becomes more adapt to the altitude. Take gradually longer hikes and with gradually heavier packs. Again, Water is key. You dehydrate faster at high altitude as your body needs it more. Most cases of Acute Mountain Sickness actually start from dehydration.

STEP 3: Camp Out. 

When you are feeling confident in your ability to hike high and feel good, it is time for a camp out! Sleep anywhere from 3-5,000 feet from where you live, but no more than 6,000 for the first night. Your body may feel adapted, but wait until it has to try to rest and sleep at that altitude. Your body uses sleep-time to heal itself. If it can’t feel like it’s getting properly rested, you won’t wake up feeling so good the next morning. If you are doing a multi-day trip, or decide to come back another weekend, you can slowly increase the sleeping altitude. try not to increase it by more than 1,000 feet per day. If you start feeling like you have a headache, light headed, nauseous, or dizzy, descend immediately.

Vertically Challenged?

Many major cities have Hyperbaric Therapy Clinics that can be beneficial to your training. Some are as cheap as $35/session. If this is simply not an option, a road trip to the nearest mountain range will do you some good, even if you can only find time for one weekend camping trip. Any elevation is better than no elevation. Regardless, the #1 key for those at at low elevations, is to maximize cardio fitness.

5 Mountain Exercises Without a Mountain

Once you feel like your body is getting into the groove of things as you train, you will want to start implementing targeted exercises. This means that you are doing things that specifically target muscle groupings or body functions needed while mountain climbing. Ideally, you would want to take a day hike with a certain amount of weight and hike trails with increasing elevation gain. However, not everyone has immediate access to nice high peaks to train on so I have come up with a few ideas you can do at home or in a gym. So here are 5 mountain training exercises you can do without a mountain!

#5: Hill Sprints

You may not have mountains, but most places have a nearby hill. Whether its an entire neighborhood in length, or just a little one at a park, you can strap on a pack, and time yourself. The first goal is to get faster. You want to be climbing at a rate of 1000 vertical feet per hour minimum before adding weight.

#4: Weighted Hill Climb

This is how you can add onto the sprints. you try it, add 10% of your body weight added to a pack. Each week, try to get a little bit faster and/or add 5% more weight. Your goal should be that able to carry a 20-25% of your body weight in a pack up 1000 vertical feet per hour nearing the date of your trip. If hills are simply non existent where you live, stair masters, or treadmills with high incline will work just fine as long as you don’t mind people in the gym giving you a look for wearing a rucksack.

#3: Stadium Stairs

High school and college stadium seats are full of stairs! Did you know that they are a great way to build endurance? You can create your own interval workout on any stadium seating! The bleachers are great for long strides. a great deep thigh burn in your quads, and high intensity cardio on your heart and lungs. The smaller little stairs can be used for rapid sprint bursts, or a rest walk on the way back down. On a target training day, hauling a heavy rucksack up and down those stairs will REALLY work those leg muscles. You can use the same method as the hill sprints and climbs by adding more weight and trying to increase speed over time.

#2: City Hike or Ride

NOTE: If you live in a crowded city, notorious for bad air quality, this one is NOT recommended. Keep your lungs healthy! Time to start putting miles on your boots. However, you may not have a mountain to climb on. If that is the case, pick 2 points in the city you live. they can be anywhere, or you can make it fun and visit some landmarks. You will be carrying 30-40lbs in your pack, and taking a stroll through the town. If your town is pretty flat, start with a goal of 5-6 miles (should take about 2-3 hours). Increase it by a mile or two each week. you can map out a loop, or have someone drop you off and pick you up and two different points, or utilize public transit. Just remember that once you start walking, don’t stop until you reach your endpoint. Another option would be to take a bike ride! Aim for at least an hour total ride time to start (12-15miles), and with the same idea, pick a landmark, and don’t stop until you reach your destination and return. Just be sure to obey rules of the road!

#1: Beach Run

Okay, okay so just because you don’t have mountains, doesn’t mean you have a beach either… but do you know where you can find sand dunes nearby? Or maybe sand trails or dirt hills? Running in the sand has always had a notorious reputation for being challenging and exhausting. The loose grains beneath your feet don’t give you traction and can slow you way down. This is a good way to build endurance not only in your heart and lungs, but in your legs. Equestrian parks are a GREAT place to run around for this. those annoying little wood chips are almost as bad as sand. If you are not a ran of running, simply strap on your pack, and try taking a stroll. Shoot for a 20-minute mile with 30-40lbs in your pack. That will get your heart pumpin’!

There you have it! Hopefully you can use these 5 mountain training exercises you can do without a mountain in your training routine!

Need help coming up with a training plan? Check our our Mountain Performance Coaching Program!