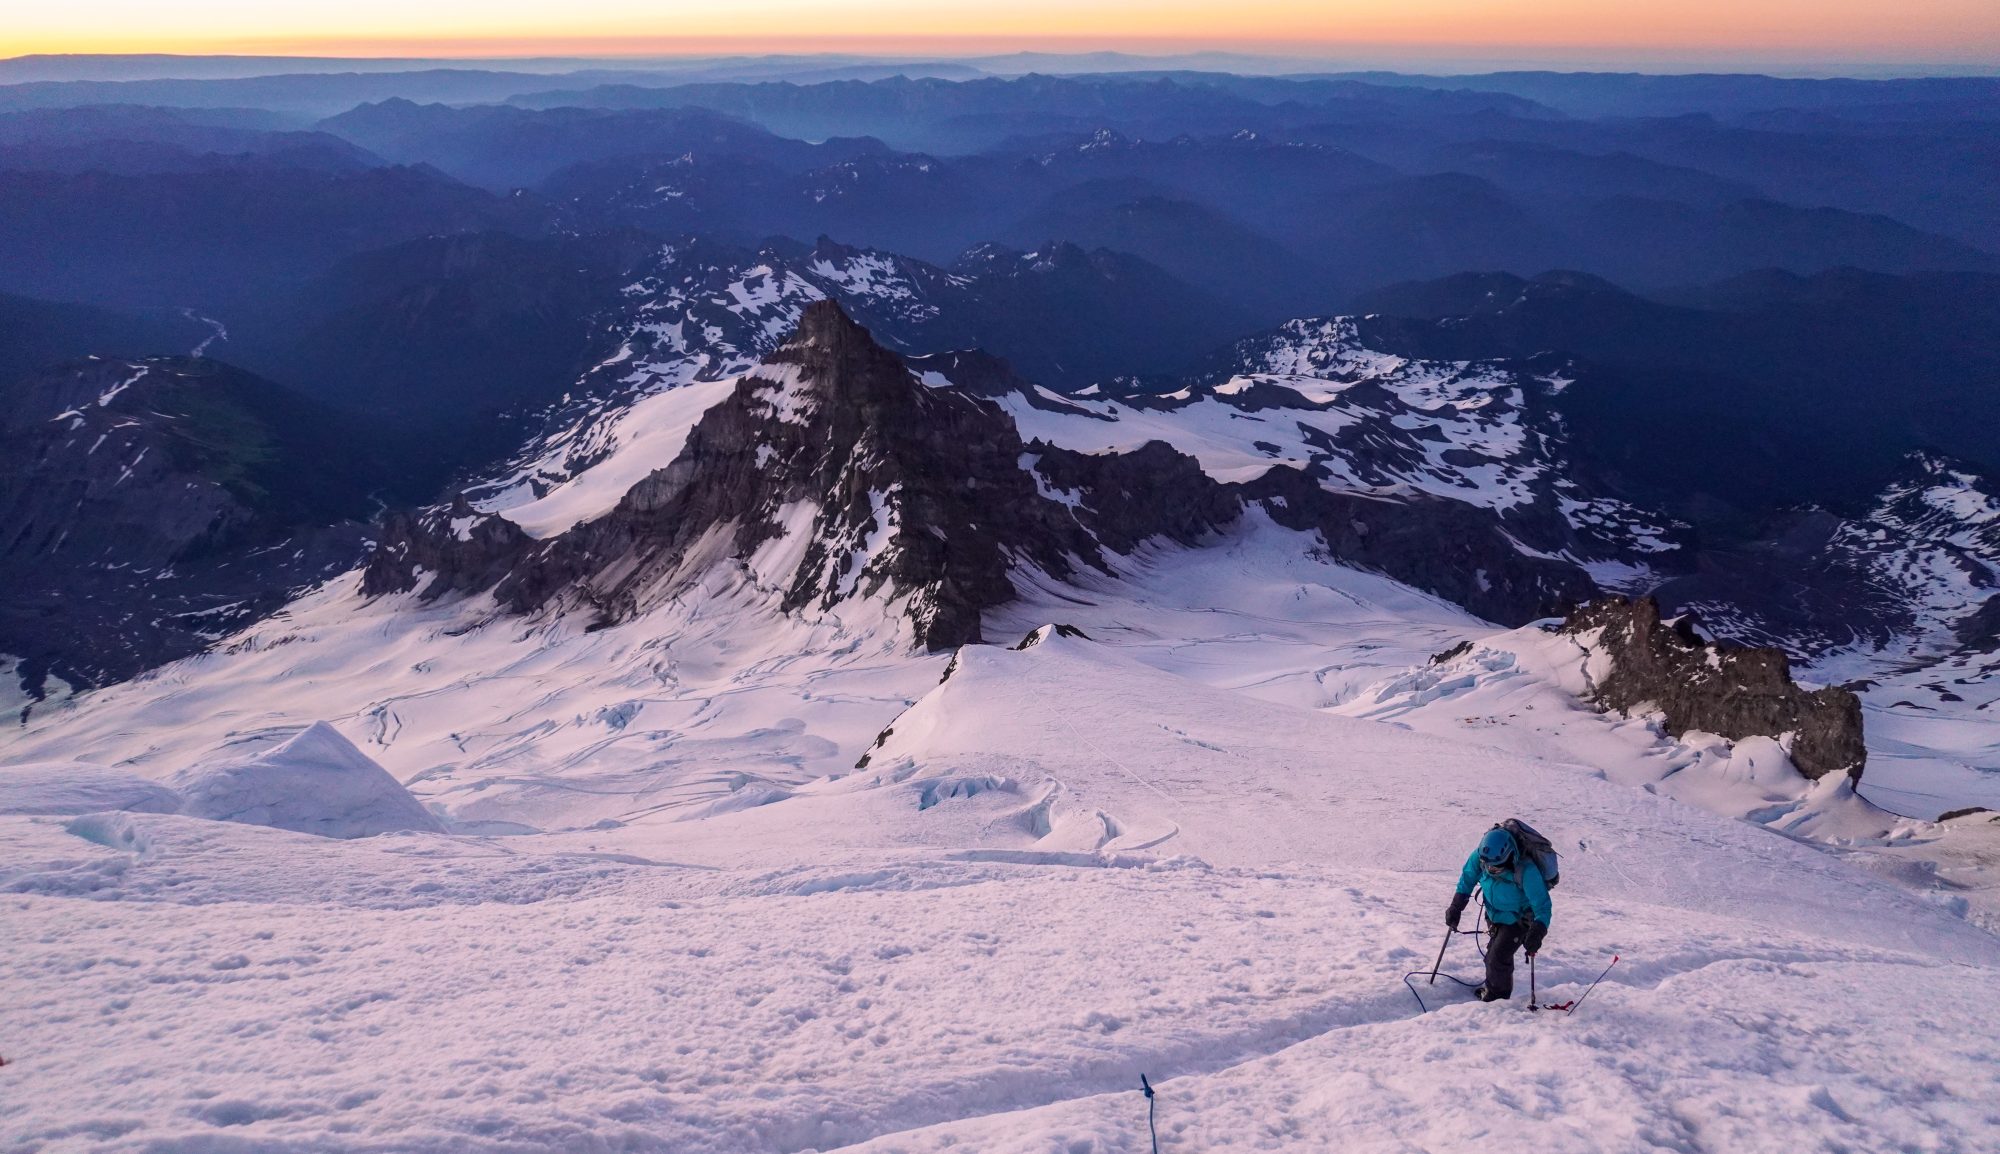
Once you feel like your body is getting into the groove of things as you train, you will want to start implementing targeted exercises. This means that you are doing things that specifically target muscle groupings or body functions needed while mountain climbing. Ideally, you would want to take a day hike with a certain amount of weight and hike trails with increasing elevation gain. However, not everyone has immediate access to nice high peaks to train on so I have come up with a few ideas you can do at home or in a gym.
#5: Hill Sprints
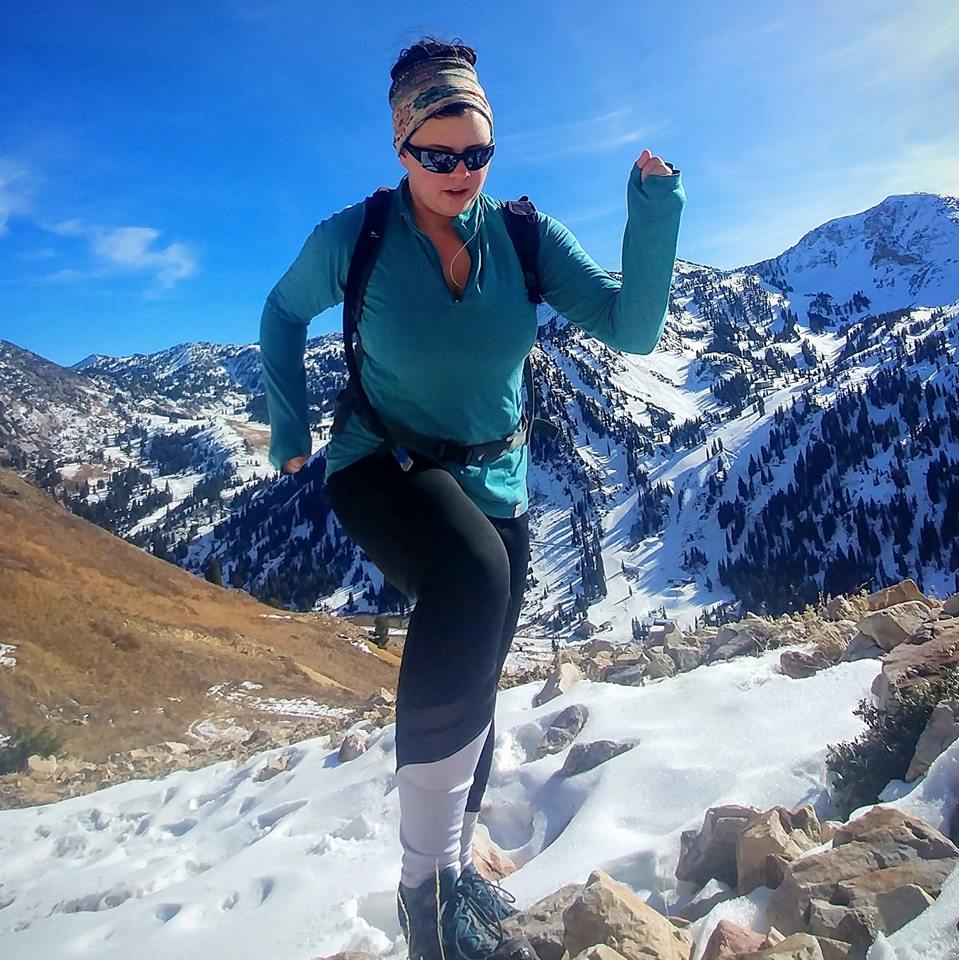
You may not have mountains, but most places have a nearby hill. Whether its an entire neighborhood in length, or just a little one at a park, you can strap on a pack, and time yourself. The first goal is to get faster. You want to be climbing at a rate of 1000 vertical feet per hour minimum before adding weight.
#4: Weighted Hill Climb
This is how you can add onto the sprints. you try it, add 10% of your body weight added to a pack. Each week, try to get a little bit faster and/or add 5% more weight. Your goal should be that able to carry a 20-25% of your body weight in a pack up 1000 vertical feet per hour nearing the date of your trip. If hills are simply non existent where you live, stair masters, or treadmills with high incline will work just fine as long as you don’t mind people in the gym giving you a look for wearing a rucksack.
#3: Stadium Stairs

High school and college stadium seats are full of stairs! Did you know that they are a great way to build endurance? You can create your own interval workout on any stadium seating! The bleachers are great for long strides. a great deep thigh burn in your quads, and high intensity cardio on your heart and lungs. The smaller little stairs can be used for rapid sprint bursts, or a rest walk on the way back down. On a target training day, hauling a heavy rucksack up and down those stairs will REALLY work those leg muscles. You can use the same method as the hill sprints and climbs by adding more weight and trying to increase speed over time.
#2: City Hike or Ride
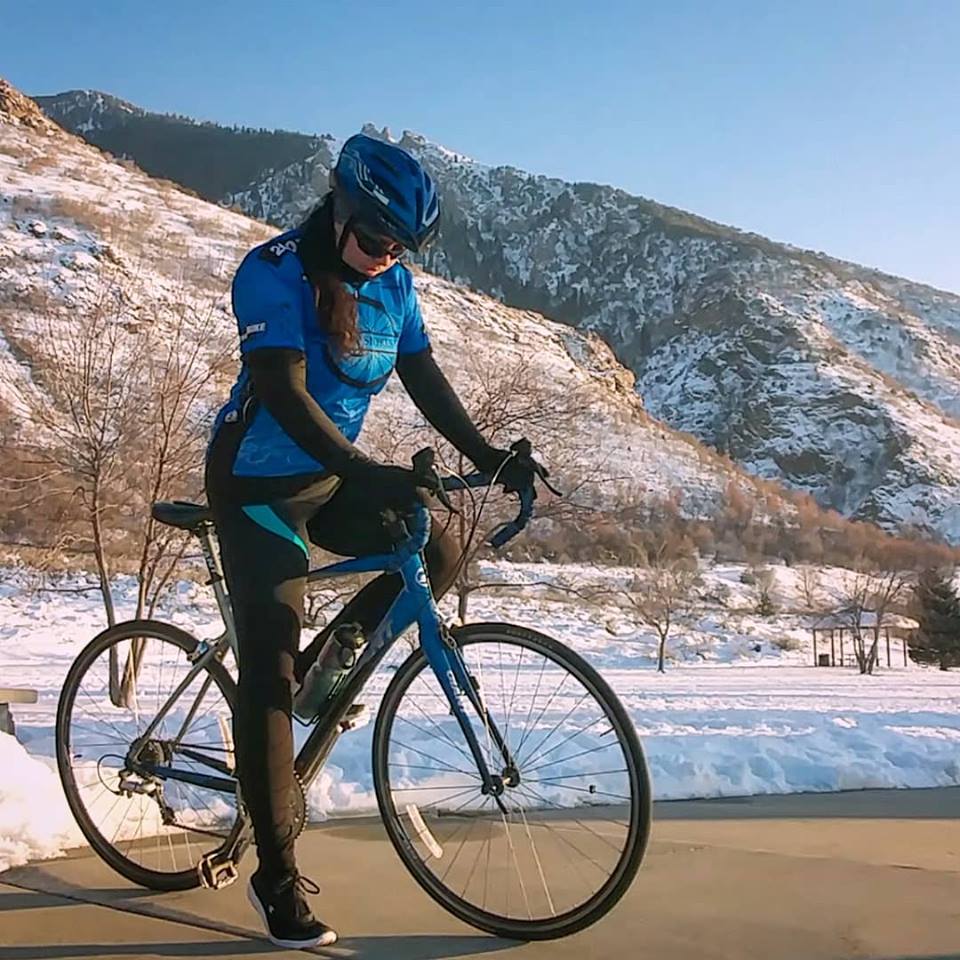
NOTE: If you live in a crowded city, notorious for bad air quality, this one is NOT recommended. Keep your lungs healthy! Time to start putting miles on your boots. However, you may not have a mountain to climb on. If that is the case, pick 2 points in the city you live. they can be anywhere, or you can make it fun and visit some landmarks. You will be carrying 30-40lbs in your pack, and taking a stroll through the town. If your town is pretty flat, start with a goal of 5-6 miles (should take about 2-3 hours). Increase it by a mile or two each week. you can map out a loop, or have someone drop you off and pick you up and two different points, or utilize public transit. Just remember that once you start walking, don’t stop until you reach your endpoint. Another option would be to take a bike ride! Aim for at least an hour total ride time to start (12-15miles), and with the same idea, pick a landmark, and don’t stop until you reach your destination and return. Just be sure to obey rules of the road!
#1: Beach Run

Okay, okay so just because you don’t have mountains, doesn’t mean you have a beach either… but do you know where you can find sand dunes nearby? Or maybe sand trails or dirt hills? Running in the sand has always had a notorious reputation for being challenging and exhausting. The loose grains beneath your feet don’t give you traction and can slow you way down. This is a good way to build endurance not only in your heart and lungs, but in your legs. Equestrian parks are a GREAT place to run around for this. those annoying little wood chips are almost as bad as sand. If you are not a ran of running, simply strap on your pack, and try taking a stroll. Shoot for a 20-minute mile with 30-40lbs in your pack. That will get your heart pumpin’!